Exploring the Art of Flat Embroidery Techniques
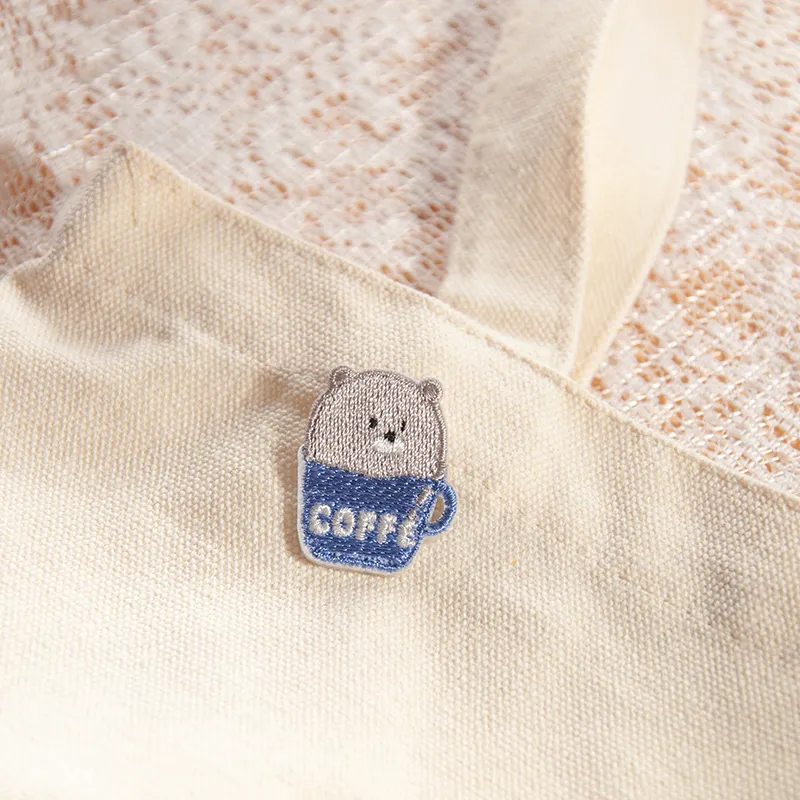
Look at the logo on your favorite baseball cap or the crisp emblem on a corporate polo shirt. That smooth, classic texture resting directly against the fabric is precisely what professionals call flat embroidery. Unlike raised, puffy designs, this technique focuses on creating a seamless, two-dimensional finish. Within the apparel industry, decorators widely consider it the gold standard for personalizing everyday items.
How exactly does a plain spool of thread transform into a recognizable shape? Think of the process as painting with thread, where every single needle puncture acts like a tiny digital pixel on a computer screen. According to almost any machine embroidery tutorial for beginners, grouping thousands of these individual thread pixels together is what ultimately builds solid colors and sharp lines. Rather than printing ink on top of cloth, the machine physically weaves the artwork into the garment itself.
In practice, this pixel-by-pixel method yields incredible durability and a highly professional look that resists fading in the wash. Whether you want to customize a heavy denim jacket or personalize a simple canvas tote bag, mastering this foundational craft allows for endless customization. Grasping how these stitches combine is your first step toward beautiful, lasting textile pieces.
Flat Embroidery vs. 3D Puff: When to Choose Sleek Over Raised
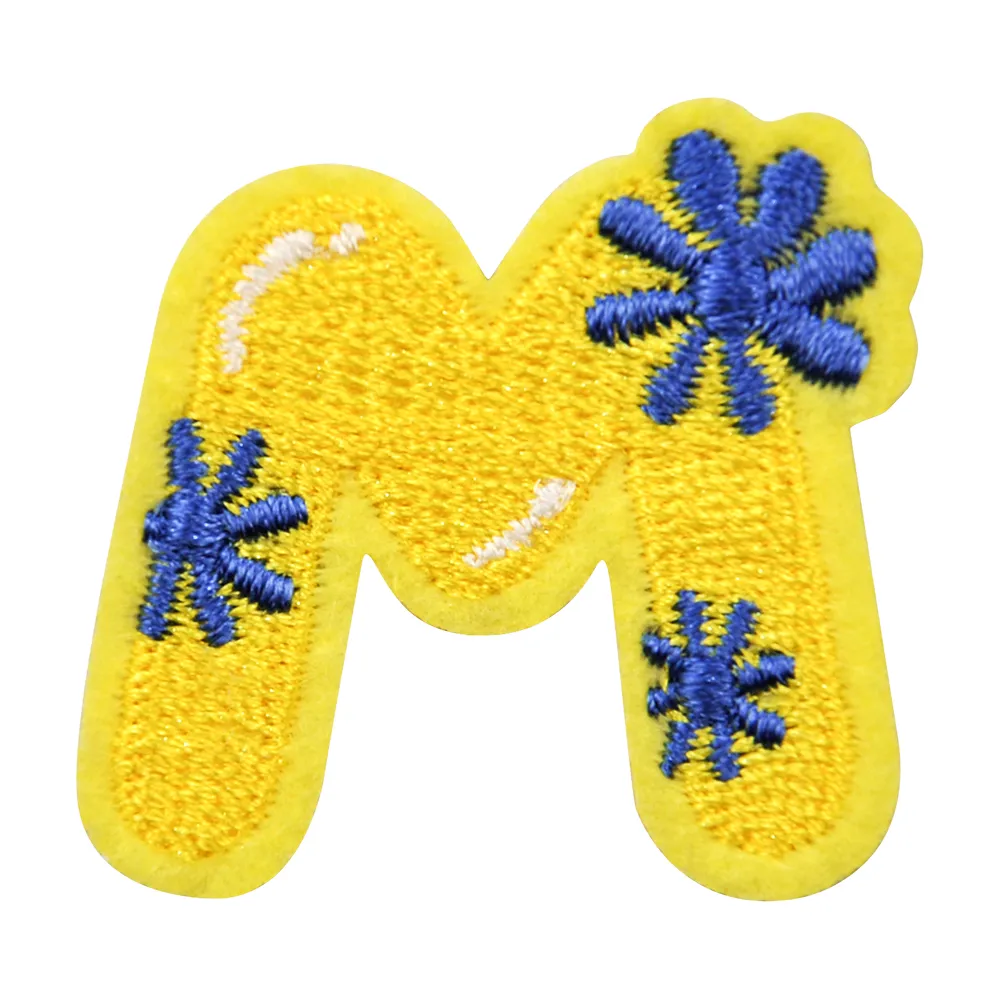
Have you ever touched a baseball cap with thick, raised letters that feel almost like a sculpture? That bold style is called 3D puff, which uses a layer of foam hidden under the thread to lift the design. When comparing flat embroidery vs 3d puff, standard flat embroidery is always the champion for fine details. Because it hugs the fabric directly, looking at 2D stitching vs 3D puff techniques reveals that flat stitches offer unmatched durability and stitch legibility. If you want a small, intricate logo to be perfectly readable, 2D stitching ensures the threads won’t blur together or snag over time.
Mixing these two styles is incredibly popular, which is why custom flat bill hat embroidery often features both techniques on the exact same cap. A designer might use thick puff for a massive center initial, but rely on sleek flat embroidery for the smaller team name underneath. This combination guarantees the heavy letters grab attention while thinner text remains crisp. Achieving those flat details to look absolutely perfect requires a completely stable canvas, which relies heavily on proper hooping and tension.

The Drum-Tight Rule: Hooping and Tension for Crisp Lines
When an embroidery design shifts into a messy blur, the culprit is usually how the material is held. The secret to crisp lines is hooping—locking fabric between two rings so it stays perfectly flat. Like a drummer needing a taut surface for a clear beat, a needle needs a taut canvas for a clean stitch. When flicked, your fabric should sound and feel exactly like a tight snare drum.
Selecting the proper embroidery hoop size is the crucial first step; always pick the smallest hoop that fits your entire design to minimize bouncing. Next, follow this simple process for hooping garments for even tension:
- Loosen the outer ring’s screw and lay it flat.
- Layer your fabric and stabilizer over the opening.
- Push the inner ring down firmly to lock it.
- Tighten the screw and perform the drum tap test.
Never yank the fabric after closing the rings to make it tighter. This forces permanent fabric distortion, leaving your shirt stretched out.
While a tight hoop is essential, it cannot support thousands of stitches alone. To prevent your canvas from collapsing under heavy thread, you need a hidden foundation underneath.
Choosing Your Invisible Skeleton: A Guide to Backing and Stabilizers
Even with a perfectly tight hoop, thousands of stitches will easily collapse a soft piece of fabric. Think of a stabilizer as the invisible skeleton for your design. Without this sturdy paper-like foundation underneath, heavy thread will weigh down the material like building a brick house on soft sand. Learning how to prevent fabric puckering after a wash comes down to giving your art the proper physical support.
Navigating a tearaway vs cutaway backing guide is simpler than it sounds. It all depends on whether your material stretches. When choosing stabilizers for different materials, follow this straightforward backing selection guide:
- Tearaway: Best for stable wovens (like denim or thick towels). It rips away easily once you finish, leaving a bare back.
- Cutaway: This fulfills the essential backing requirements for knitwear (like standard t-shirts or hoodies). Because knits stretch, you must permanently leave a trimmed foundation behind to keep the logo crisp forever.
Flipping a professionally embroidered shirt inside-out reveals this hidden permanent structure at work. Once your fabric is properly secured and stabilized, it relies on high-quality tools to execute the design.

Thread and Needles: The Dynamic Duo of Durable Designs
Vibrant colors and a subtle shine are what make custom embroidered logos pop. Capturing that professional look requires choosing the best thread for durable designs, which almost always means 40-weight polyester. In the embroidery world, “weight” simply defines the thread’s thickness. A 40wt thread is the universal sweet spot because it is thick enough to cover fabric beautifully but thin enough to capture fine details, all while surviving endless laundry cycles without snapping or bleeding.
Pushing that tough thread through material hundreds of times a minute demands the proper physical tool. Navigating embroidery needle sizes for various fabrics prevents frustrating thread breaks or permanent, ugly holes in your garments. You will frequently encounter the size “75/11” recommended for everyday projects. This measurement describes a slender, sharp shaft that is perfectly balanced to slip cleanly through standard apparel like t-shirts and tote bags.
Pairing a standard 75/11 needle with 40wt thread creates a reliable system that protects your canvas while laying down permanent art. Yet, even flawless physical tools cannot save a project if the digital blueprint lacks proper setup.
Underlay and Density: Why Your Design Shifts and How to Stop It
Notice how letters on a custom hoodie look like glossy ribbons? That smooth, continuous zig-zag is called a satin stitch, a technique used for bold outlines and text. However, when applying this finish to soft fleece, you might ask why the embroidery design shifts or disappears. Without proper preparation, delicate threads sink directly into the plush material, ruining that crisp, professional effect.
The secret to preventing that sunken look is the underlay. The importance of underlay in stitch density is comparable to pouring a solid concrete foundation before building a house. Before the machine sews the shiny top layer, it lays down a sparse, hidden grid of stitches. This invisible skeleton flattens the textured fabric and gives your high-density satin stitches something firm to grip. Instead of getting lost in the fuzz, top threads ride smoothly over this framework to ensure clean edges.
Packing too much thread over that foundation causes its own problems. Stitch density describes how tightly those top threads are squeezed together. If the density is too high, your design becomes a stiff, heavy patch. A balanced density guarantees a soft, flexible finish that moves naturally with your favorite shirt. Securing that artwork also requires maintaining proper tension underneath the hoop.

Troubleshooting Tension: Balancing Bobbins for Flawless Finishes
Flipping a beautifully embroidered tote bag over sometimes reveals a tangled knot of thread. That messy clump is called “bird-nesting,” and it happens when your machine loses a delicate tug-of-war. Every stitch is a tiny battle between the upper thread on top and the bobbin thread hidden underneath. If the top pulls too tightly, white bobbin thread gets dragged to the visible surface. If it is too loose, loops gather underneath. Adjusting bobbin and upper tension fixes this vital balance.
Diagnosing the culprit is as simple as inspecting the back of your fabric. Instead of risking a favorite jacket, run a practice shape on scrap material first. By turning tension dials in tiny increments, you reduce thread breakage and coax the threads into a smooth pull. Ideally, the underside shows a neat strip of bobbin thread framed by the top color. Mastering this hidden balance ensures a clean, professional finish every time you initiate a new project.
Taking Your First Stitch: A Practical Action Plan for Custom Projects
You no longer just look at a stitched logo; you recognize the careful balance of fabric, tension, and thread required to create it. Bridging the gap between digital art and physical stitches requires a repeatable workflow for every new setup. Avoid common first-time mistakes with this quick start checklist:
- Clean artwork: This is essential when digitizing artwork for stitch files.
- Proper stabilizer: Always match your hidden foundation to your fabric type.
- New needle: Ensure crisp, snag-free stitching paths.
- Test run on scrap fabric: Build your confidence before ever touching the final garment.
Starting small and executing an initial practice run ensures your custom projects maintain crisp lines and durable finishes. Building a consistent preparation workflow guarantees that your threads lay flat, smooth, and professional.
