Creative Ways to Use Red Embroidery Patches
Transforming a plain denim jacket into a statement piece doesn’t require an expensive sewing machine. We’ve all admired custom gear that looks incredibly high-end, but the secret is often just a red embroidery letters patch applied right at home. Within the accessible world of DIY fashion, a standard iron and a solid plan are all you need to achieve professional-looking results in minutes.
Ever wondered why luxury labels and varsity teams rely so heavily on crimson accents? According to classic principles of visual hierarchy in fashion, our eyes are naturally drawn to high-contrast, high-energy colors first. Whether you want subtle personalization on a canvas tote or bold branding for a local club hoodie, a bright red focal point dictates exactly where people look.
In practice, bridging the gap between a temporary craft project and a permanent wardrobe staple comes down to correct material selection. Treating your fabrics correctly ensures your new custom design won’t peel off in the washing machine. Once you master this basic application technique, you hold the power to confidently elevate any ordinary garment in your closet.
Why Scarlet Chenille vs. Flat Embroidery Defines Your Aesthetic
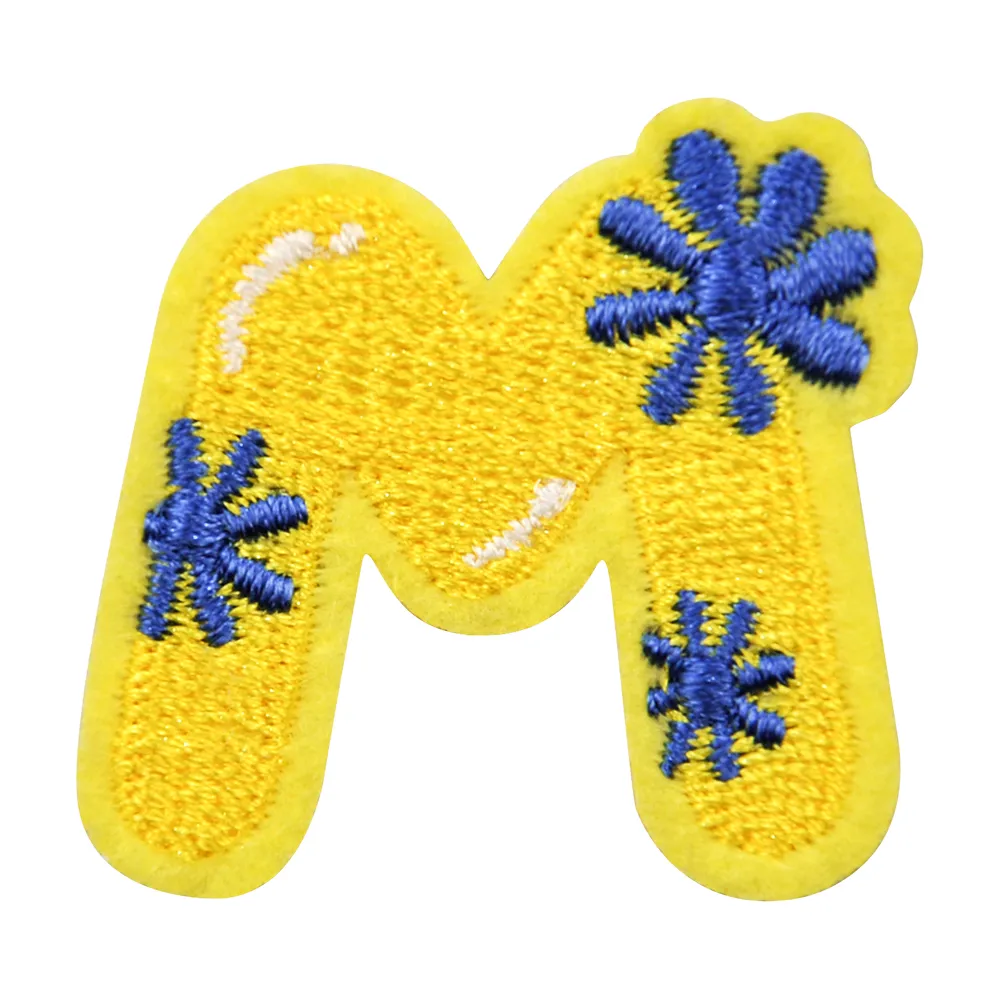
Picking the right red patch requires selecting a texture that anchors your aesthetic. While you know materials vary, the difference between fuzzy threads and smooth stitching transforms a garment entirely. For a classic retro look, bright scarlet chenille varsity alphabet letters deliver instant nostalgia. Conversely, a darker crimson flat stitch offers a sleek, modern finish that blends cleanly into everyday streetwear.
To guarantee a professional finish, pair your chosen texture with the right fabric and placement:
- Chenille: Ideal for heavy hoodies or denim. Because its plush, towel-like surface catches easily, avoid placing these in high-friction zones like elbows or the bottoms of backpacks.
- Flat Embroidery: Sits perfectly flush against thin t-shirts or windbreakers and easily withstands heavy daily wear.
- 3D Puff: When comparing flat embroidery vs 3d puff lettering, puff adds underlying foam to make baseball hats pop visually without adding vulnerable fuzz.
After securing the perfect red patch for your project, your next focus is application. Properly attaching your custom piece ensures it actually survives the washing machine. This brings up the ultimate DIY dilemma: deciding between instant gratification with a hot iron and lifetime durability with traditional sewing.

Iron-On vs. Sew-On: Deciding Between Instant Gratification and Lifetime Durability
Flipping your new red iron on letter patch over reveals the secret to its application. If the back looks shiny and slightly rigid, you are looking at heat-activated film backing types. This layer of adhesive melts under a standard household iron, fusing the patch to your garment for instant gratification. If this glossy film is absent, leaving only raw thread visible, you have a strictly sew-on piece.
Before pressing down, you must determine if your garment can actually handle the heat. The best fabric types for heat adhesive are sturdy natural fibers like cotton and heavy denim, which comfortably withstand the temperatures required to activate the glue. Conversely, delicate synthetics like thin nylon windbreakers or stretchy activewear will simply warp. This basic fabric heat tolerance dictates the best application approach.
Even with a perfect fabric match, comparing iron-on vs sew-on embroidery methods ultimately comes down to daily wear and tear. High-friction items constantly tossed into hot washing machines, like canvas laundry bags, quickly degrade melted adhesive. Sewing provides the permanent durability needed for these heavy-wear accessories, ensuring your custom lettering never peels off during a rough spin cycle.
You do not always have to choose entirely between the two techniques. The ultimate DIY trick is the “safety stitch” compromise: quickly fuse the patch with your iron to lock its placement, then secure the four corners with a needle and thread. Once you confirm your garment survives the heat test, your next challenge is safely applying that temperature.
Mastering the Heat: How to Apply Patches Without Scorching Your Favorite Denim
Successfully testing your fabric for heat tolerance means you are ready to fire up the iron. However, applying high heat directly to vibrant red embroidery threads can cause fading or unwanted melting. The secret to preventing scorch marks during patch application is using a protective barrier, commonly called a pressing cloth. A simple piece of thin cotton, like a pillowcase or a flour sack towel, placed over your letter patch acts as a shield while still allowing the necessary heat to pass through.
Achieving a permanent bond relies on two fundamental application rules: pressure and dwell time. “Dwell time” simply means how long the heat source stays in one spot, while pressure forces the melting glue deep into the garment’s woven fibers. When figuring out how to apply iron on patches to denim or heavy canvas, remember that you are pressing, not ironing. Moving the appliance back and forth pushes the patch out of alignment; instead, you must push straight down using your upper body weight.
Replicating commercial heat press settings for fabric patches at home is straightforward with this checklist:
- Pre-heat: Set your iron to “Cotton” (around 350°F) with the steam turned off.
- Warm the fabric: Iron the blank spot for 10 seconds to remove moisture.
- Press and hold: Cover the patch with your cloth and push down firmly for 30 to 45 seconds.
- Reverse and repeat: Turn the jacket inside out and press the back for another 20 seconds.
Patience is the final ingredient for success. Let the garment cool completely before gently picking at the edges to test the bond; if it lifts, reapply heat. Once your secured letters are fully set, you are ready to tackle larger designs, like DIY Varsity Jackets and Sport Bags: Pro-Level Customization Projects.

DIY Varsity Jackets and Sport Bags: Pro-Level Customization Projects
Revitalizing an old gym bag or blank hoodie requires components built for daily wear. For DIY sports team uniform personalization, examine the patch’s construction before buying. Look for a merrowed edge finish for custom patches—a thick, raised thread border that stops fraying and delivers a classic, bulky aesthetic. Premium options also utilize a twill backing material for durable patches. This tightly woven base acts as a sturdy foundation, preventing the embroidered letter from puckering or wrinkling across your garment.
Perfect placement separates a professional-looking piece from a weekend craft gone wrong. When customizing varsity jackets with name patches, calculate your letter spacing easily using the “Center-Out” method. Instead of working left to right, find the exact middle of your fabric and place the center letter first. Working outward guarantees your text remains perfectly symmetrical, completely eliminating the frustrating mistake of running out of room near a zipper or seam.
Despite meticulous spacing and premium fabrics, the rigorous life of athletic gear continuously tests your handiwork. Tossing a heavy bag into a cramped locker puts immense friction on those newly sealed borders. Solutions for preventing and fixing loose edges will ensure your bold red designs stay perfectly anchored for seasons to come.

Why Do Appliqués Peel? Solutions for Preventing and Fixing Loose Edges
Watching a perfect red letter peel away is frustrating, but identifying the cause behind appliqués peeling off after washing saves your hard work. The culprit is usually one of three common adhesive killers:
- Fabric Softener: This coats your garment’s fibers in slippery chemicals, physically blocking the glue from gripping.
- Low Heat: Insufficient iron temperature fails to melt the heat-seal backing completely.
- Lack of Pressure: Heavy downward force is required to push the melted glue deep into the fabric weave.
When a rogue corner lifts, don’t panic. Fixing loose edges on stitched monograms often just requires a simple adhesive reactivation. Because the backing responds to temperature, pressing a hot iron over a thin protective cloth for ten seconds easily remelts the glue. If the original adhesive has entirely washed away, a tiny drop of permanent fabric glue tucked under the flap works flawlessly.
Should you need to swap designs entirely, safely removing adhesive patches prevents fabric damage. Aim a hairdryer on high heat directly at the piece to soften the underlying glue, then slowly peel the letter away while warm. With these setbacks resolved, the final stage is a foolproof plan for durable custom gear.
From Concept to Closet: Your 3-Step Plan for Durable Custom Gear
Before, personalizing a jacket might have felt like a gamble against peeling edges. Now, you hold the exact blueprint to create professional-level DIY custom gear. Mastering the critical balance of heat, adhesive, and fabric means confidently executing designs without ruining favorite denim or canvas pieces.
Your next step is straightforward. Select a premium red embroidery letters patch with crisp stitching, prep your garment by testing its heat tolerance, and apply the design with steady precision. To guarantee that vibrant color and secure bond last for years, remember to wash your newly customized piece inside out on a cold, gentle cycle.
A textured monogram serves as a distinct personal signature. Achieving store-bought quality at home relies on proper technique and attention to detail. With the right fabric, precise heat application, and proper aftercare, those bold red letters will remain securely anchored for years to come.
