Mastering 3D Embroidery: Techniques & Tips
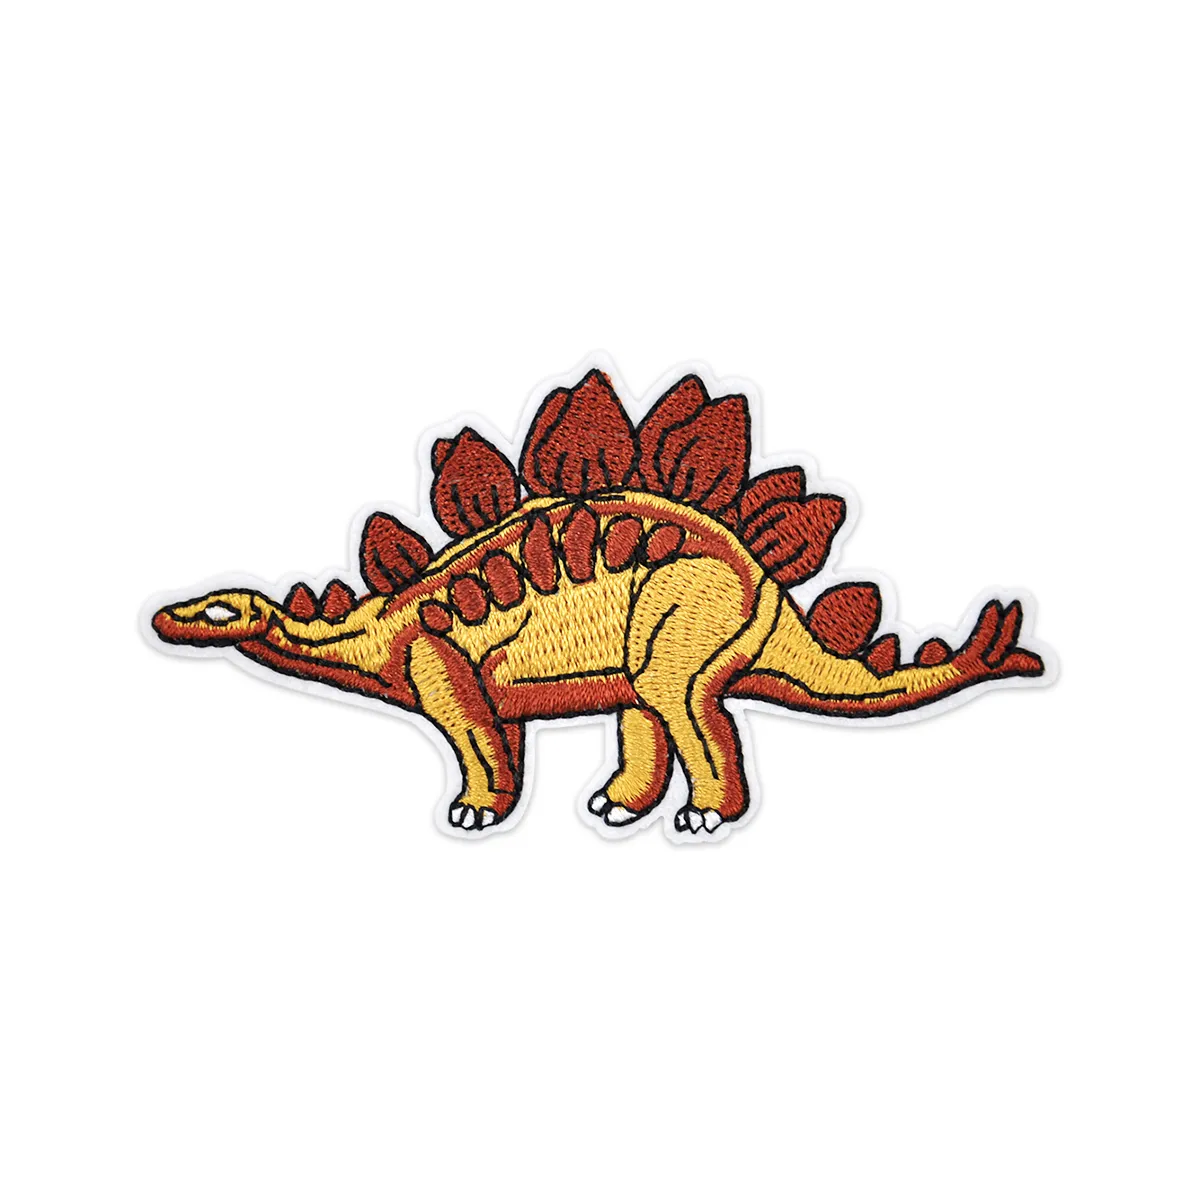
Run your thumb over the thick, crisp logo on a professional baseball cap. That firm, raised texture instantly feels more expensive than a flat design. Consumer fashion experts note that tactile texture in modern textile design elevates apparel from basic to premium. While traditional stitching lies completely flat against the fabric like a painting, these dimensional designs leap off the canvas.
Creating this effect takes more than just piling up thread. So, what is 3d embroidery exactly? Simply put, it is embroidery with a hidden skeleton. In practice, crafters achieve this by placing an internal padding skeleton—usually squishy foam or shaping wire—directly onto the fabric. The needle then stitches tightly over the material until the secret foundation is completely trapped inside.
Think of this technique through a layering analogy, much like building a frosted cake. You need a solid structural foundation before adding towering swirls of icing. Mastering this underlying structure creates impressive 3D loft—the physical height and puffiness of the stitches—transforming ordinary flat cloth into captivating 3D embroidery.
The Secret Ingredient: How Specialty EVA Foam Creates ‘Puff’
For modern machine designs, this hidden skeleton relies on a squishy, flexible material known as specialty EVA foam for needlework. Crafters use a clever “hide and seek” method, placing a piece of 3d puff embroidery foam directly on the fabric and stitching heavily over it until it vanishes completely.
Removing the leftover pieces hanging outside the design is surprisingly satisfying. During 3d foam embroidery, the needle acts like a tiny cookie cutter, punching thousands of holes along the border. This creates a perforation—a weakened line exactly like the edge of a postage stamp—allowing you to easily tear the excess away for a crisp edge.
Selecting your 3d embroidery foam depends entirely on the finish you desire. Foam density (how firm the material feels) dictates crispness; standard density is soft and easy to tear, while high-density variants resist squishing to hold sharp, architectural corners. Meanwhile, thickness controls your project’s lift:
- 2mm Thickness: Creates a subtle, rounded pop that is ideal for standard hats or delicate script lettering.
- 3mm Thickness: Delivers maximum height for chunky, blocky athletic logos.
Even with the perfect squishy foundation, this material will peek through if it isn’t completely wrapped in thread. To lock everything safely inside, we must master the high-density satin stitch.

Why Your 3D Designs Need a ‘Cap’: Mastering the High-Density Satin Stitch
You cannot just slide a piece of foam under any standard embroidery file and call it a day. The secret lies in a process called 3d embroidery digitizing—the careful mapping of exactly where the machine’s needle will travel. If you try to use a regular flat design over thick foam, the threads will spread too far apart, leaving exposed chunks of your foundation material peeking through the gaps.
To solve this, creators rely on the satin stitch, which acts like a smooth, tightly wound ribbon of thread wrapping side-to-side over the design. However, when working with elevated structures, you must adjust your high density satin stitch settings to pack those threads nearly twice as close together as normal. This increased stitch density creates a solid, impenetrable shell that completely swallows the squishy skeleton beneath it.
Even with a dense thread wrapper, the raw ends of a letter or shape remain vulnerable to foam escaping. This is where capping stitches for textured patterns come to the rescue. Capping involves sewing tiny, specialized pinches of thread over the open ends of a column—closing the design much like folding the ends of wrapping paper over a gift box so nothing shows through.
Because of these unique structural requirements, proper puff embroidery digitizing techniques demand building a file from scratch rather than just clicking a “make it puffy” button on an old logo. Mastering this dense thread manipulation unlocks incredible potential for professional-looking apparel.

Beyond Hats: Creating 3D Embroidery Flowers and Stumpwork
Stepping away from baseball caps, traditional hand-stitching offers its own magic. To make delicate 3d embroidery flowers leap off a canvas, artists use stumpwork—the craft of creating a tiny wired limb and “transplanting” it onto your main fabric. Instead of burying squishy foam under thread, you are building an adjustable sculpture.
Think of this process like building a miniature kite. You tack thin wire onto scrap fabric to form a petal’s outer edge. Next, you stitch closely over that metal skeleton until the thread hides it completely. Finally, you carefully snip the shape out and anchor it to your final piece, resulting in gorgeous embroidery 3d flowers that physically lift off the background.
Any comprehensive dimensional needlework tutorial will tell you that elevating framed art or wedding invitations requires special supplies. Unlike flat stitching, this technique relies on three unique tools:
- Florist wire: The bendable metal skeleton that gives your petals shape.
- Felt padding: Small pieces of dense wool used to add soft volume under objects.
- Pliers: Essential for twisting and securing the wire ends behind your fabric.
Because these elements have a metal core, they are entirely adjustable—you can physically curl a petal inward long after the needle is put away. Creating these lifelike, removable elements is immensely satisfying, but keeping those freshly cut thread edges perfectly clean takes care.

The ‘Heat Gun’ Secret and Other Professional Finishing Tricks
Finishing a 3D project can be slightly alarming if bits of foam still poke through your crisp thread lines. Knowing how to remove excess foam from stitches is your first step to an expensive, retail-ready look. Gently pull away the larger pieces; the needle holes act like a perforated edge, making tearing easy.
Stubborn colored fuzz will inevitably remain, but you do not need to pull it out strand by strand. Instead, crafters rely on a heat gun for cleanup of leftover materials. Waving warm air over the design makes the synthetic foam instantly shrink and retreat under the thread, hiding it entirely.
Occasionally, a tiny thread separation exposes the interior structure. Fortunately, fixing gaps in high-relief patterns doesn’t mean restarting your project. Grab a tapestry needle or tweezers to carefully nudge the threads closer together. This simple trick closes the space instantly, much like pulling curtains over a window.
These fast finishing touches transform an amateur attempt into a crisp, professional masterpiece.
Bringing it All Together: Your Roadmap to Creating Dimensional Needlework
You no longer have to wonder how flat threads become sculptural forms. That impressive “Wow factor” is simply the art of hiding a foam or wire foundation beneath careful stitches, transforming everyday items into standout pieces.
Kickstart your journey from flat to form with this checklist:
- Plan: Download beginner-friendly 3d puff embroidery designs to practice the “hide and seek” method at a comfortable pace.
- Evaluate: Weigh the ease of machine-cut foam against the delicate control of hand-wired stumpwork to choose the best caps for 3d embroidery.
- Analyze: Order a sample of custom 3d puff embroidery hats so you can confidently inspect professional tension and padding techniques up close.
You will never look at a raised logo the same way again. Revealing this hidden skeleton empowers you to turn ordinary fabric into a tactile masterpiece, one raised stitch at a time.
Frequently Asked Questions (FAQ)
1. What is 3D embroidery and how does it work?
3D embroidery (also called puff embroidery) creates a raised, dimensional texture by placing a hidden “skeleton” under the stitches. The most common method uses specialty EVA foam placed directly on the fabric. The machine then sews a high-density satin stitch over the foam until it is completely hidden. After stitching, excess foam is torn away along perforated stitch lines, leaving a crisp, puffy design that stands off the fabric.
2. What is the difference between 2D and 3D puff embroidery?
| Feature | 2D (Flat) Embroidery | 3D (Puff) Embroidery |
|---|---|---|
| Texture | Lies flat against fabric | Raised, dimensional (puffy) |
| Method | Thread stitched directly on fabric | Thread stitched over foam or padding |
| Visual impact | Subtle, classic | Bold, premium, attention-grabbing |
| Best for | Detailed text, small logos | Blocky letters, athletic logos, caps |
3D embroidery feels more expensive because the tactile texture adds a premium, architectural quality that flat stitching cannot achieve.
3. What materials are needed for 3D puff embroidery?
| Material | Purpose | Typical Specs |
|---|---|---|
| EVA foam | Creates the raised “skeleton” under stitches | 2mm (subtle pop) or 3mm (maximum height) |
| High-density foam | Holds sharp architectural corners | Resists squishing; good for blocky logos |
| Satin stitch thread | Wraps completely around foam | High density setting (stitches nearly twice as close as normal) |
| Heat gun | Removes leftover colored fuzz | Shrinks synthetic foam back under stitches |
For hand-sewn 3D (stumpwork): Add florist wire, felt padding, and pliers.
4. What is the difference between 2mm and 3mm 3D embroidery foam?
| Thickness | Result | Best For |
|---|---|---|
| 2mm | Subtle, rounded pop | Standard hats, delicate script lettering, tight curves |
| 3mm | Maximum height, bold statement | Chunky block letters, athletic logos, large designs |
Foam density also matters:
Standard density – Soft, easy to tear; general use
High density – Firm, resists squishing; holds sharp architectural corners
5. Why do 3D embroidery designs need “capping stitches”?
Capping stitches are tiny, specialized pinches of thread sewn over the open ends of a letter or shape. They serve a critical purpose: closing the ends so foam cannot escape. Without capping, the raw ends of a column would leave the foam skeleton exposed, ruining the clean, finished look. Think of it like folding the ends of wrapping paper over a gift box – nothing shows through.
Important: 3D embroidery requires files digitized specifically for puff embroidery. You cannot simply take a flat design and stitch it over foam – the thread density is wrong and foam will peek through gaps.
6. What is stumpwork and how is it different from foam 3D embroidery?
Stumpwork is a hand-embroidery technique that creates raised elements using wire skeletons instead of foam. The process:
Tack thin florist wire onto scrap fabric to form a petal or leaf shape
Stitch closely over the wire until the thread hides it completely
Cut the shape out and anchor it to your final piece
Key differences from foam puff embroidery:
| Aspect | Foam Puff Embroidery | Stumpwork |
|---|---|---|
| Method | Machine or hand stitching over foam | Hand stitching over wire |
| Adjustability | Fixed after sewing | Adjustable – petals can be curled after finishing |
| Best for | Caps, logos, blocky letters | Flowers, butterflies, sculptural art pieces |
| Tools | EVA foam, heat gun | Florist wire, pliers, felt padding |
Getting started checklist:
Download beginner-friendly 3D puff designs to practice the “hide and seek” method
Order a sample of custom 3D puff embroidery hats to inspect professional tension and padding
Choose your thickness – 2mm for subtle script, 3mm for bold athletic logos
