


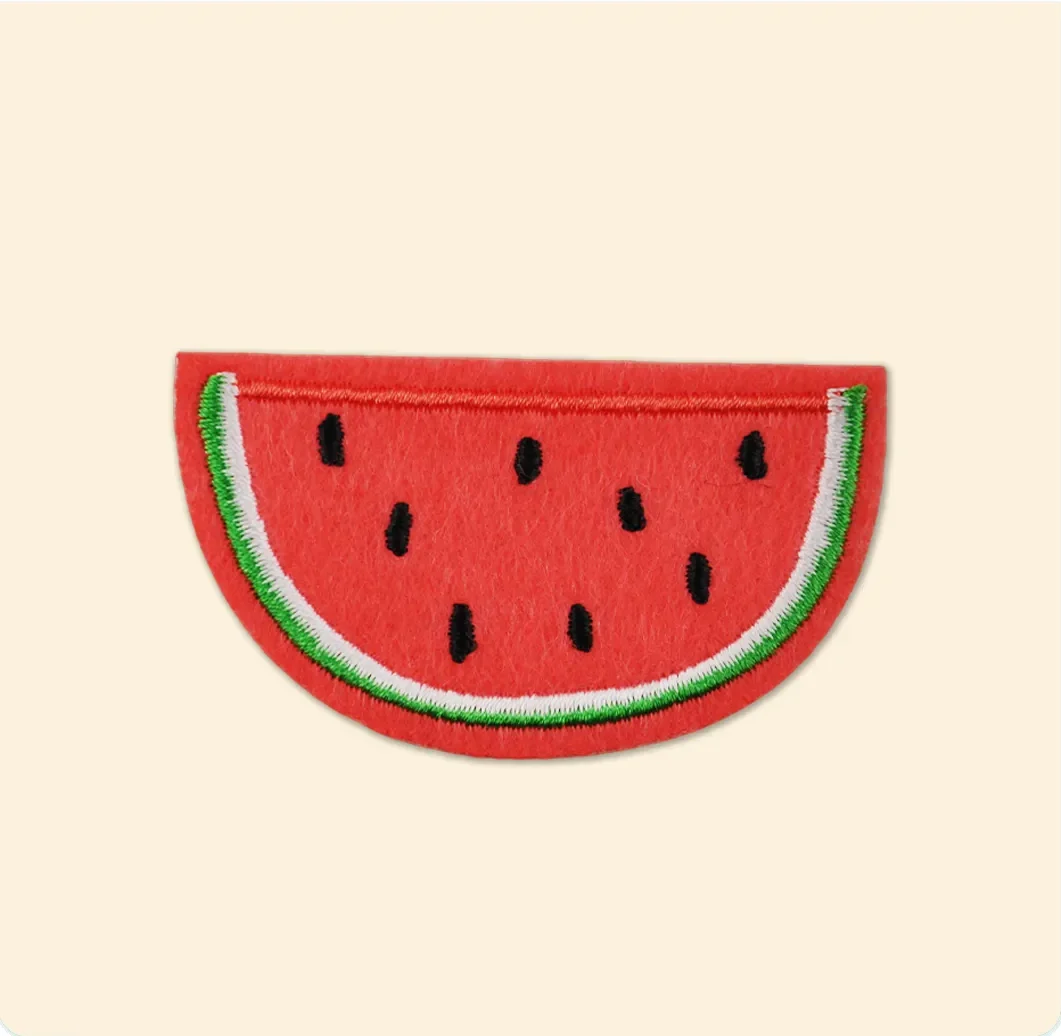
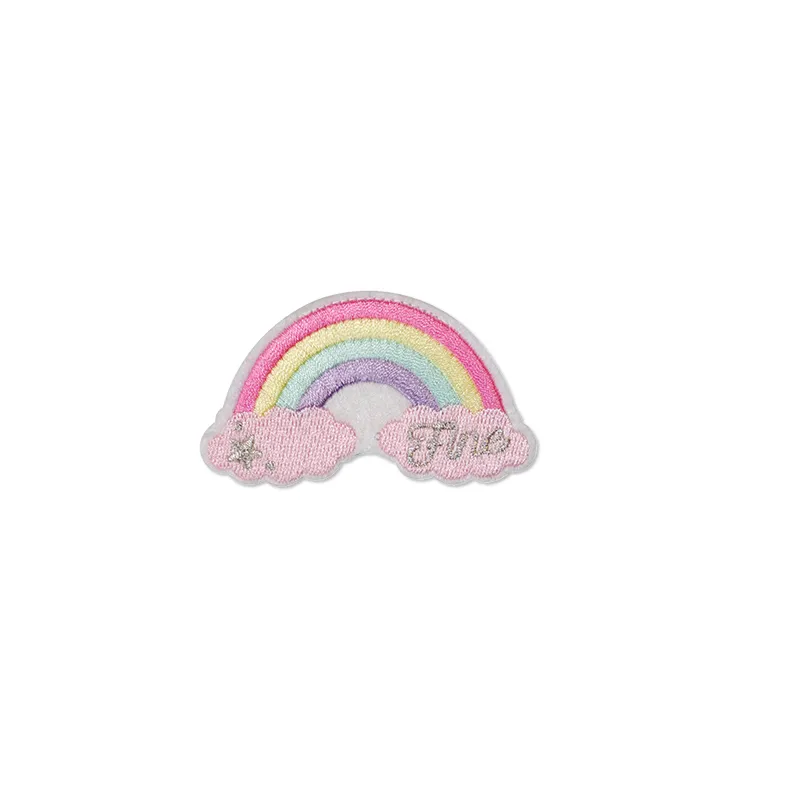
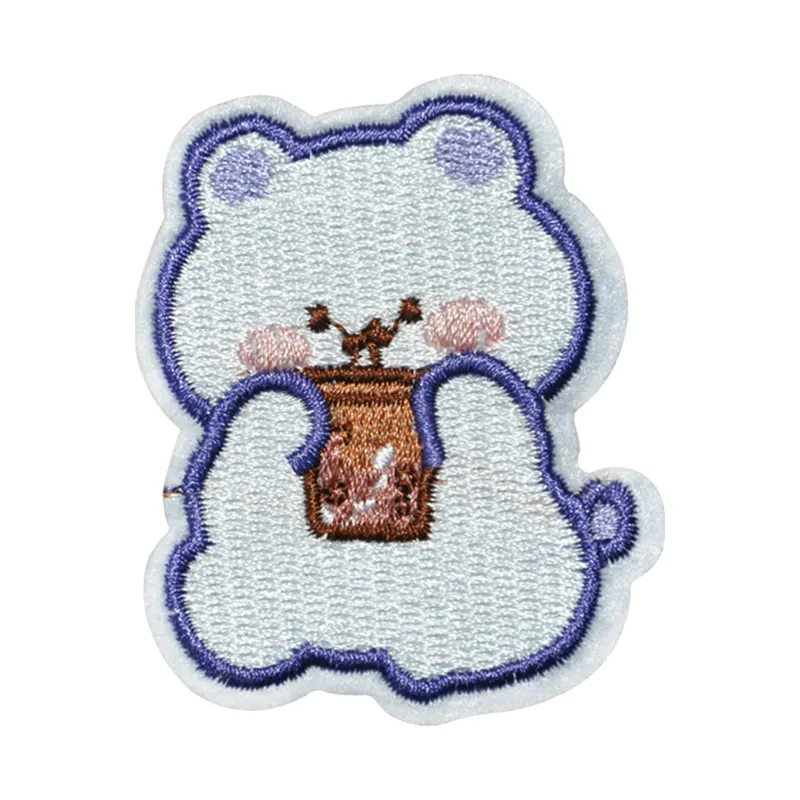
Have you ever admired the intricate detail of an embroidery patch and wondered about the artistry and precision that goes into crafting such a masterpiece? Whether it’s the vibrant colors, the meticulous stitching, or the personal flair embroidered patches bring to garments, there’s no denying their unique charm. The journey of making an embroidery patch is not just about following a set pattern; it’s an art form that combines creativity, technique, and a little bit of magic. In this guide, we’ll unravel the secrets behind these tiny works of art, guiding you through every step to create your own stunning patches.
Embarking on the adventure of making an embroidery patch is like opening a door to a world of endless possibilities. From selecting the right fabric to choosing the perfect thread colors, each decision can transform your patch into a personal masterpiece. Whether you’re a seasoned crafter or just starting out, understanding the nuances of embroidery will elevate your skills and inspire your creativity. By the end of this guide, you’ll not only have crafted a beautiful patch but also gained insights into an age-old craft that continues to captivate hearts worldwide. Let’s stitch your vision into reality!
Choosing the Right Fabric for Your Embroidery Patch
Selecting the ideal fabric base is the foundational step in making an embroidery patch. The fabric you choose not only affects the look and feel of your finished patch but also determines how well it will endure wear and tear. Popular options include twill, felt, and canvas—each offering unique benefits. Twill, with its tight weave, provides excellent stitch definition, making it ideal for detailed designs. Felt offers a soft, fuzzy background that’s easy to cut and gives a cozy aesthetic, while canvas delivers durability and a sturdy surface for more complex patterns.
When you start making an embroidery patch, consider factors like weight, weave density, and edge fray. Lightweight fabrics may wrinkle or tear under dense stitching, whereas sturdier materials can handle heavier thread loads without puckering. If you plan to iron-on or sew your patch onto clothing, look for fabrics compatible with heat-activated adhesives or strong stitching. Lastly, test small swatches under your embroidery machine or with hand stitching to evaluate tension settings and ensure your chosen fabric supports the intricacies of your design.
Beyond practical concerns, think about how the fabric color will interact with your thread palette. A dark background can make bright threads pop, whereas a light or neutral fabric can give a soft, understated look. Remember that some fabrics may show needle holes more than others, so practice sampling before fully committing. By choosing the right base material, you set the stage for a professional, long-lasting patch that showcases your creativity and craftsmanship.
Selecting the Perfect Thread Colors
The choice of thread colors can elevate your patch from ordinary to eye-catching. When making an embroidery patch, your color palette should complement your design theme and stand out against the fabric background. Cotton embroidery floss, polyester embroidery thread, and rayon thread are popular choices due to their sheen and colorfastness. Polyester is known for its durability and resistance to fading, while rayon offers a silky finish that catches the light beautifully.
Start by gathering thread samples or a color card to compare hues side by side. Begin with your primary design elements—outlines, central motifs, and focal points—and assign contrasting colors to ensure clear visibility. For shading and depth, select a gradient of two or three tones within the same color family. This approach creates dimension and prevents the patch from looking flat. Remember to balance warm and cool tones to achieve harmony; too many similar shades can muddy your design, while stark contrasts can feel jarring.
Lighting plays a critical role in how threads appear. Test your color combinations under natural daylight as well as indoor lighting to catch any discrepancies. If you’re blending metallic or specialty threads, be mindful of their reflective properties—these can add sparkle but also require careful tension adjustments on your machine. Ultimately, thoughtful thread selection ensures that your embroidered patch communicates the intended mood, style, and durability for its intended application.
Creating a Design or Pattern for Your Patch
Designing your patch is the creative heart of making an embroidery patch. Start with inspiration: sketch ideas on paper, browse online galleries, or draw from personal hobbies. Your pattern should balance simplicity with visual interest, considering the scale of embroidery stitches. Complex designs may lose clarity on a small patch, so focus on bold outlines and limited color changes.
Use digital tools or tracing paper to refine your sketch. Digitizing software allows you to map out stitch types—satin, fill, or running stitches—and adjust density for different areas. Pay attention to stitch direction, as it influences texture and light reflection. A well-planned pattern ensures efficient machine operation and crisp results.
Transferring the Design onto Fabric
Transferring your design accurately sets the stage for seamless stitching. Whether you’re using heat-transfer pens, carbon paper, or an embroidery hoop with a lightbox, precision is key. Position your fabric tautly in the hoop to prevent shifting. If you’re working with dark fabric, use a white pencil or tailor’s chalk to outline the pattern;
For machine embroidery, load the digitized file into your machine’s software and secure the stabilizer beneath the fabric. Test a small swatch to fine-tune hoop tension and stitch density. Hand embroiderers can trace the pattern directly onto the fabric or transfer sections one at a time to maintain clarity and accuracy. A clean transfer ensures your stitches follow the intended path, minimizing mistakes and rework.
Finishing Touches and Securing Your Embroidery Patch
Once the stitching is complete, it’s time to perfect the edges and secure your patch for long-term use. Trim away excess fabric, leaving a small border around the stitches—usually 1/8” to 1/4”—to prevent unraveling. For a clean edge, consider using a merrowed border technique or applying a narrow zigzag stitch around the perimeter. This not only conceals raw edges but also adds a professional finish.
Attaching your patch securely depends on its final application. Iron-on patches require a heat-activated adhesive backing; simply press with a hot iron and allow to cool before testing adhesion. Sew-on patches benefit from a tightly sewn perimeter stitch to ensure they withstand washing and friction. For a hybrid approach, combine sewing and adhesive for extra strength, particularly on items subject to heavy wear, such as denim jackets or backpacks.
Before declaring your masterpiece complete, inspect it under different lighting and angles. Gently press the patch to ensure stitches lie flat, and trim any loose threads. If you notice puckering or distortion, lightly steam the patch or adjust tension in future attempts. With these finishing touches, your embroidery patch is ready to adorn any textile surface with enduring style and craftsmanship.
Conclusion: Embracing the Artistry of Embroidery
Masterpiece stitches begin with thoughtful choices at every stage—from fabric selection to final edging. As you refine your techniques in making an embroidery patch, you’ll discover that patience and experimentation unlock endless creative potential.
Whether you’re crafting patches for personal use, gifts, or a budding business, each design reflects your dedication to this timeless art form. Keep exploring new materials, color combinations, and stitch methods to elevate your work and celebrate the beauty of stitched expression.
