


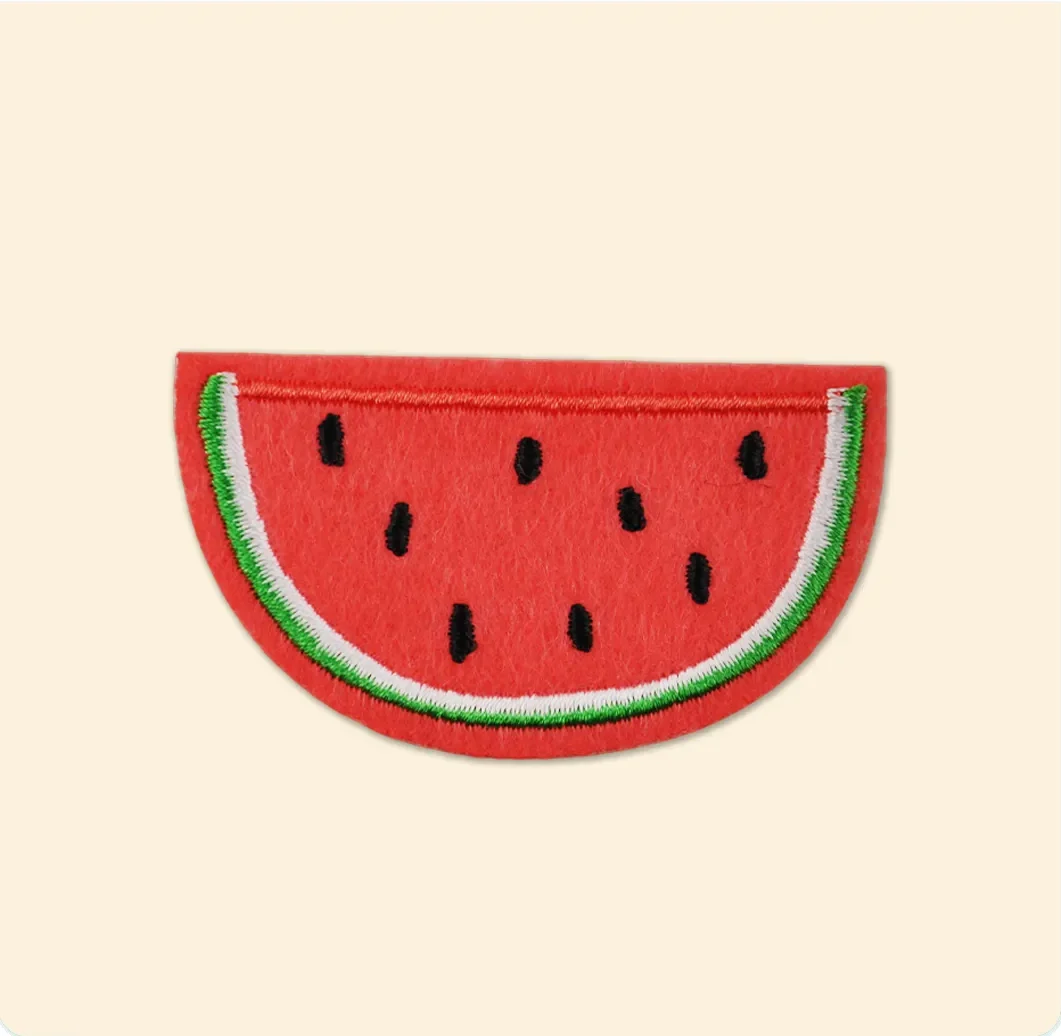
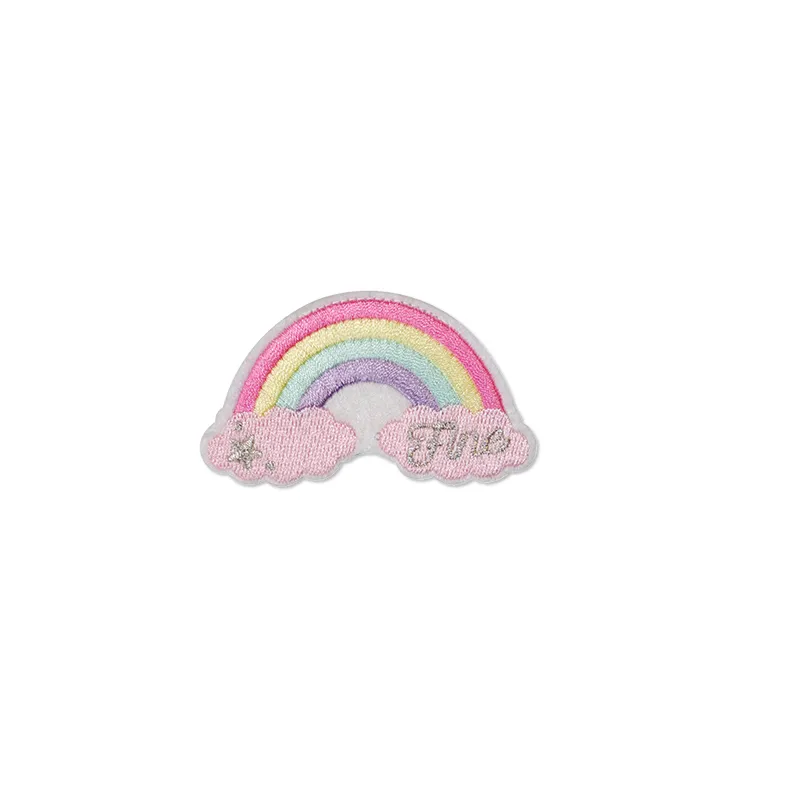
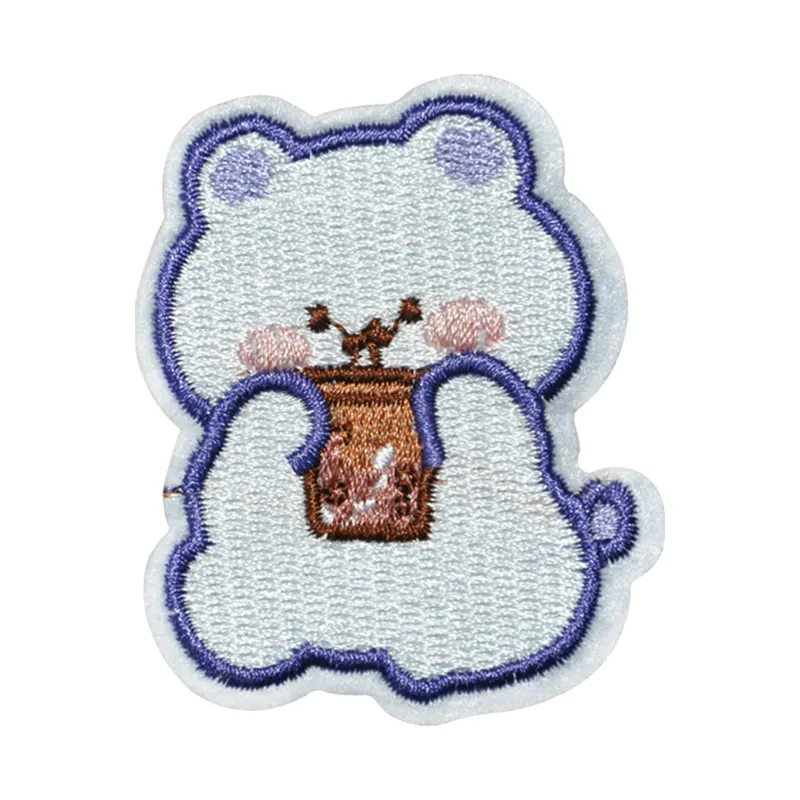
Imagine transforming your doodles and sketches into vibrant, tactile art that you can carry with you everywhere. Picture a jacket or backpack adorned with unique designs that not only showcase your creativity but also tell a personal story. The world of custom embroidery patches offers exactly that—a canvas for your imagination that’s as bold or subtle as you desire. With just a needle, some thread, and a little inspiration, you can create something truly remarkable that’s entirely yours.
In today’s fast-paced world, where originality often feels drowned out by mass production, the urge to create something personal and unique has never been stronger. Crafting a custom embroidery patch is more than just a creative endeavor; it’s a form of self-expression, a tiny piece of art you can wear proudly wherever you go. Whether you’re a seasoned crafter or a complete newbie, exploring this art form can unlock a new realm of creativity you never thought possible. Ready to delve into this colorful adventure? Let’s stitch your ideas into reality!
Gathering Inspiration for Your Embroidery Patch Design
Before you make a custom embroidery patch, the most exciting step is brainstorming ideas that reflect your personality, interests, or brand. Start by collecting visual references—browse through art books, Instagram feeds, Pinterest boards, fashion magazines, or even street art for eye-catching color palettes, shapes, and motifs. Pay attention to the things that make you feel enthusiastic: favorite animals, geometric patterns, typography styles, or even popular motifs like celestial elements, floral designs, and retro logos.
Next, refine your inspiration into a cohesive concept. Sketch out rough drafts on paper or digitally, experimenting with composition and scale. Consider the size of the patch you envision: will it fit perfectly on a denim jacket lapel or a tote bag pocket? Think about the message you want to convey—playful, minimalist, motivational, or nostalgic—and let that guide your creative decisions. Gathering inspiration is about not limiting yourself; it’s about allowing various sources to spark ideas and fuel your imagination so that when you finally pick up a needle, your design feels both fresh and personal.

Choosing the Right Materials and Tools
To make a custom embroidery patch that lasts, selecting quality materials and the correct tools is essential. Start with fabric: felt, twill, and cotton canvas are popular choices due to their stability and ease of stitching. Felt offers a padded look, while twill holds sharp edges well. Cotton canvas provides a more rustic, woven texture. When deciding, consider how vibrant you want your patch to appear and what garments you’ll attach it to.
Next, choose your thread. Embroidery floss in cotton or rayon offers a wide spectrum of shades and a subtle sheen. For extra durability or a metallic finish, polyester or metallic threads work beautifully. Don’t forget to select needles sized appropriately for your fabric: a sharp embroidery needle for tight weaves or a crewel needle for thicker textiles. Finally, gather scissors, an embroidery hoop to keep the fabric taut, and transfer tools—like tracing paper or water-soluble pens—to outline your design. With the right materials at hand, you’ll be well on your way to crafting a flawless custom patch.
Embroidery Techniques: From Basic Stitches to Advanced Patterns
When you first make a custom embroidery patch, mastering the basics builds a solid foundation. Fundamental stitches like the backstitch, satin stitch, and French knot will cover most simple designs. The backstitch is perfect for outlines and lettering, offering clean, continuous lines. The satin stitch creates solid, smooth fills, ideal for bold shapes or lettering. French knots add texture and dimension, especially in floral or decorative accents.
Once you’re comfortable with the basics, explore more advanced patterns such as chain stitch, bullion knots, and woven fillings. Chain stitch provides a rope-like appearance for decorative borders. Bullion knots create raised loops that mimic petals or fringe. Woven fillings combine multiple stitch directions for a tightly packed, textured surface. By blending these techniques, you can achieve intricate details—like shading, gradients, and three-dimensional effects—that make your patch truly stand out.
Adding Texture and Dimension to Your Patch
Texture transforms a flat patch into a tactile work of art. One simple method is layering: stitch a base layer in a lighter color, then overlay raised stitches in a darker hue to simulate shadows and highlights. This technique adds depth without overwhelming complexity. You can also experiment with padding: place a small piece of felt behind specific areas before stitching on top to create a plush, embossed look.
Another way to enhance dimension is by combining different thread types. Use matte cotton for backgrounds and switch to shiny rayon or metallic threads for focal points. The contrast in sheen draws attention to key details. For a truly unique finish, incorporate embellishments like seed beads, sequins, or small patches of fabric appliqué. These elements not only catch the light but also give your design a mixed-media vibe that elevates the overall aesthetic.
Showcasing Your Finished Creation: Ideas for Displaying and Using Your Custom Patch
After you make a custom embroidery patch, it’s time to show it off. Sewing or ironing it onto jackets, backpacks, hats, or tote bags instantly personalizes your belongings. For durable attachment, use a sewing machine or hand-stitch the edges with a whip stitch. If you prefer a quick solution, an iron-on adhesive backing offers convenience, though it may not last as long under frequent washing.
Beyond fashion, consider framing your patch in a shadow box or embroidery hoop and hanging it as wall art. Group several themed patches on a corkboard to create a changeable gallery. You can also gift your creations as bespoke keepsakes—attach a pin backing and turn them into collectible brooches for friends and family. No matter how you display them, custom embroidery patches make a bold statement and celebrate your artistic journey.
Conclusion: Embrace Your Creativity with Custom Embroidery Patches
Embroidery patches are more than just decorative accents—they’re wearable art that tells your story and reflects your unique style. From gathering inspiration and choosing the right materials to mastering stitches and adding texture, each step invites you to explore and express yourself.
Whether you’re adorning a denim jacket, gifting a handmade patch, or simply enjoying the meditative act of stitching, creating a custom embroidery patch is a satisfying journey. So grab your threads and hoop, let your imagination run wild, and start stitching your ideas into reality today!
