


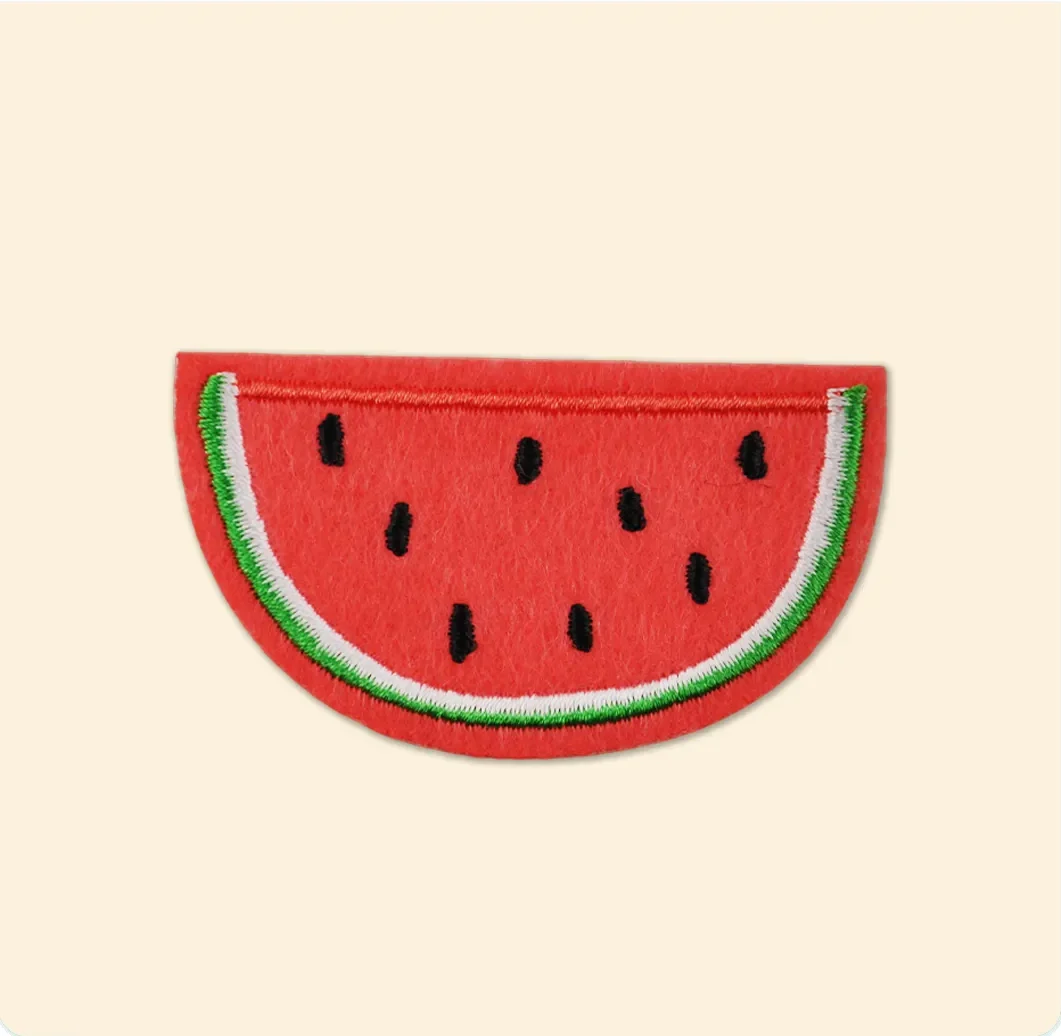
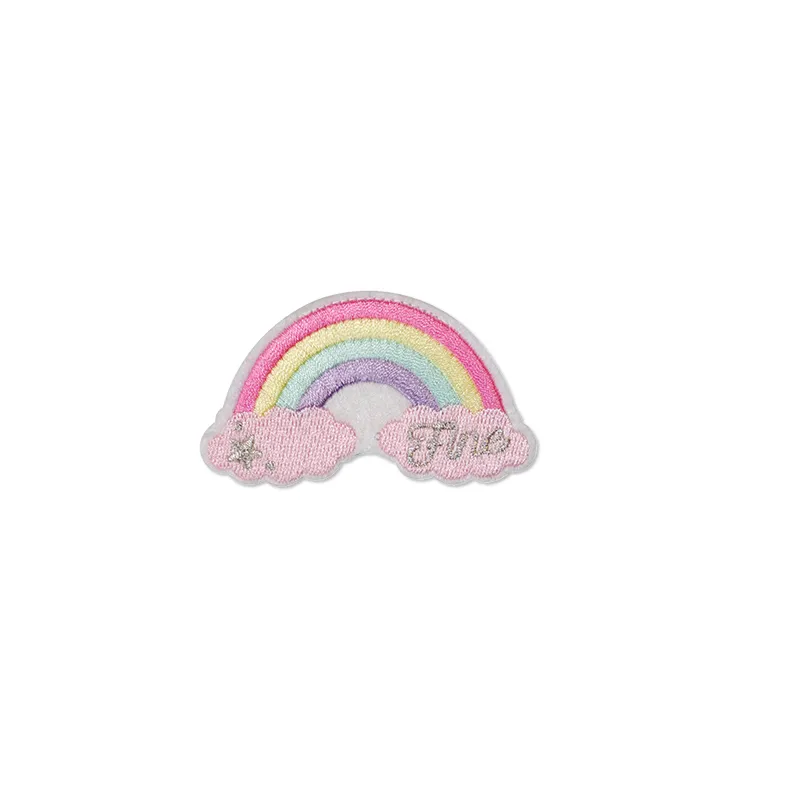
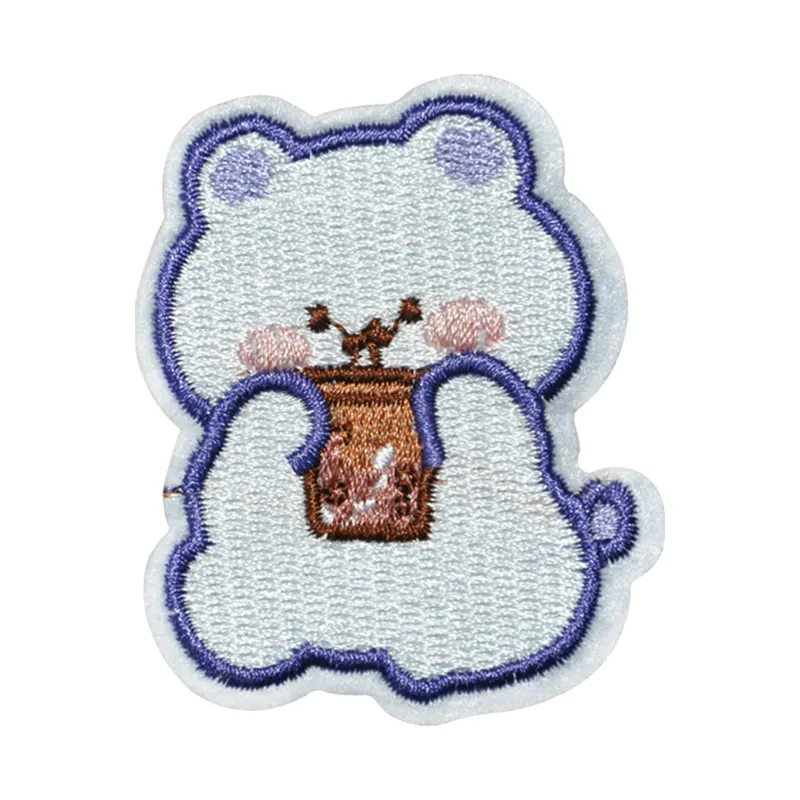
Creative Ways to Use Cartoon Embroidery Patches
We all remember that favorite childhood denim jacket, proudly decorated with a bright character that showed the world exactly what we loved. Today, that nostalgic magic is making a massive comeback as people rediscover the classic cartoon embroidery patch. Securing retro character appliques to your garments instantly turns everyday apparel into a highly personal canvas.
Found a small snag in your favorite hoodie? Instead of tossing it out, fashion enthusiasts are turning to “upcycling”—the process of transforming old, worn clothing into something creatively better than the original. According to modern textile artists, attaching a vibrant design isn’t just a clever trick for hiding a hole; it is a sustainable strategy to rescue garments from landfills while extending their wearable life.
Choosing the right materials makes the difference between a durable keepsake and a frustrating budget disaster. Look closely at the outside border: premium options usually feature a “merrowed edge,” which is a thick, tightly wrapped thread border specifically designed to prevent unraveling. Ready to give your faded wardrobe a colorful makeover that actually lasts?
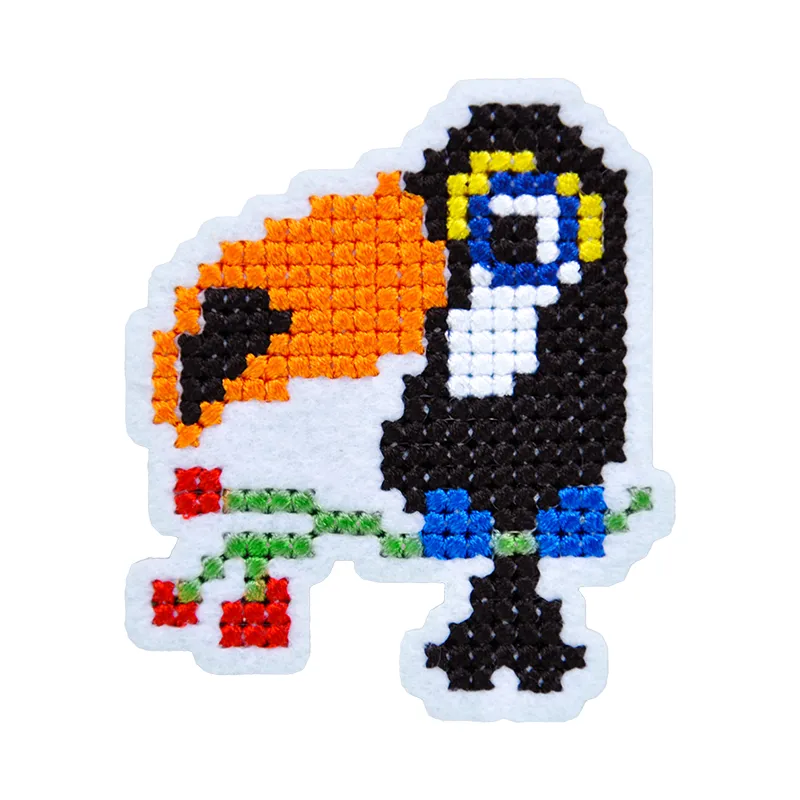
Beyond the Surface: Identifying High-Quality Embroidery Before You Buy
Snagging a fun embroidered patch cartoon and movie fans recognize is exciting, but how do you know it will actually survive the washing machine? Since you already know these colorful mini-artworks are crafted from layered threads, the secret to spotting a premium piece lies in how closely those threads are packed together.
You can easily evaluate durability using three simple visual cues:
- Lack of ‘gapping’ in the fill: Perform a quick “gap test” by bending the patch slightly. If the underlying fabric peeks through the colors, it lacks high-density thread count quality.
- Tight thread tension: The stitches should sit perfectly flat and smooth, rather than looking loose or tangled.
- Uniform border thickness: A consistent, neat edge keeps the internal design securely locked in place.
Texture also completely changes a design’s vibe, especially when comparing chenille vs standard embroidery texture. While standard patches use flat, shiny threads for crisp details, chenille uses tiny loops of yarn to create a plush, towel-like feel that is perfect for retro varsity letters or fuzzy animal characters.
Finally, always check the outer rim for a “merrowed edge”—that thick, tightly wrapped border that acts like a picture frame and prevents long-term fraying. Once you have confidently picked out a sturdy, well-crafted design, the next step is securely attaching it to your garment.
To Heat or to Stitch? Choosing Between Iron-On and Sew-On Backings
Securing your new cartoon masterpiece to your favorite apparel requires choosing the right attachment method for the job. When comparing iron-on vs sew-on backings, your decision completely depends on how much wear and tear the garment will endure. The back of your patch holds the secret to its longevity, determining whether it becomes a permanent fixture or a temporary fashion statement.
If you flip the design over and notice a shiny, smooth film, you are looking at a heat-seal backing. Applying these appliques is incredibly beginner-friendly because this backing acts as a dormant layer of glue. When applying heat seal backing to jackets, the pressure and temperature from a standard household iron melt that stiff film, forcing the adhesive to sink directly into the garment’s fibers and bond securely as it cools.
Relying purely on that melted glue isn’t always foolproof, as adhesive longevity decreases significantly with heavy use and hot water. For items thrown in the laundry weekly, like a comfortable hoodie, reinforcing the edges with a needle and thread guarantees the corners will never curl. Alternatively, if you prefer frequently switching up your style, customizing backpacks with velcro attachments offers a brilliant “peel-and-swap” modularity without ever needing to stitch anything down.
The backing type dictates the perfect application method for your daily lifestyle. However, melting glue with a hot iron is not a flawless solution for every material currently hanging in your closet. Before pressing down on that vibrant new character, you must consider how different fabrics react to heat.
Heat Hazards and Fabric Wins: Can You Put Patches on Polyester and Delicate Gear?
Grabbing a hot iron to attach your new cartoon character is satisfying, but applying raw heat directly to modern fabrics is a risky gamble. When working with heat-activated adhesives, your best defense is a pressing cloth—a simple cotton towel or pillowcase placed between the iron and your garment. This protective barrier prevents synthetic fibers from scorching or turning shiny while still allowing enough heat through to melt the backing.
Different materials demand different survival strategies under that heat. If you are wondering whether you can iron patches onto polyester, the answer is absolutely yes, but it requires strict temperature control. Keep this quick fabric safety checklist in mind before pressing down:
- Cotton: High heat tolerance; an ideal, easy-to-use canvas.
- Denim: Extremely durable; handles maximum temperatures effortlessly.
- Polyester: Heat-sensitive; requires low-to-medium heat and a protective pressing cloth.
- Nylon: Melts instantly; strictly a sew-only zone.
Beyond temperature, you must also consider garment thickness. Attaching a dense, heavy patch to a paper-thin t-shirt often causes “puckering”—an ugly rippling effect where the fabric bunches up around the design. To prevent this, you need a supportive layer behind the shirt; while professionals use specific machine embroidery stabilizer types, basic iron-on interfacing works beautifully to stiffen the area. Mastering these fabric rules prepares you to tackle the ultimate heavy-duty canvas: denim.
The Denim Glow-Up: Strategic Placement for Retro Pop Culture Motifs
Securing your patch safely is just the start; the real thrill comes when transforming a blank jacket into a wearable gallery. When personalizing denim with pop culture motifs, haphazard placement often looks cluttered. Instead, consider “visual weight”—the concept that bright, oversized retro characters instantly draw the eye. These act as your focal points. By positioning your largest piece thoughtfully, you create a solid anchor for your overall design.
Placement Inspiration: A balanced arrangement often features a mix of sizes, anchoring larger designs on the chest or upper back while trailing smaller, complementary motifs down the sleeve.
Building around that anchor introduces “cluster aesthetics,” where smaller patches complement the main attraction. Whether mimicking a neat merit badge layout or an energetic 90s collage, stick to these three iconic placement zones:
- The Over-the-Heart Badge: Classic and intentional, perfect for a single medium character.
- The Sleeve-Cluster: Group small motifs here using the ‘rule of thirds’ (upper arm) to maintain balance.
- The Centered-Back: Prime real estate for massive, statement-making focal points.
This same ‘rule of thirds’ benefits backpacks, ensuring designs highlight front pockets rather than sinking to the bottom seams. Crafting a cohesive theme takes planning, but testing your layout before ironing ensures stunning results. Of course, everyday use tests even perfect placements. If your artwork eventually lifts, simple recovery steps can save the day.
Fix It, Don’t Flip It: How to Repair Peeling Patches and Remove Sticky Residue
Catching the edge of your favorite jacket on a doorframe and seeing a colorful character peel away is incredibly frustrating. Fortunately, repairing peeling fabric patches is a simple fix because the backing glue is thermoplastic. Simply place a thin protective cloth over the lifted corner and press a hot iron down for ten seconds to re-activate the bond, melting it securely back into the garment’s weave.
When a design completely falls off or you want to swap styles, you are often left with an ugly, sticky footprint. Figuring out how to remove adhesive residue from clothing requires patience rather than forceful pulling, which can snap delicate fabric fibers. Apply rubbing alcohol or a commercial fabric solvent using a cotton swab. Let the liquid sit for a minute to safely break down the glue’s tight grip, then gently scrape the remaining gunk away using an old credit card.
Salvaging personalized apparel instead of buying replacements saves money and keeps your favorite pieces in rotation. Combining these easy repair tricks with modern sustainable materials makes custom fashion a highly eco-friendly hobby. With these maintenance skills firmly mastered, you are ready to start your next big project.
Your Patchwork Blueprint: How to Start Your First Custom Project Today
You are no longer just staring at a plain jacket wondering how to give it personality. You now possess the eye to spot tightly woven threads and the know-how to securely attach vibrant embroidery without damaging your favorite clothes.
To guarantee your artwork survives everyday wear, follow this simple project checklist:
- Choose a high-denier fabric (like denim or heavy canvas).
- Pick a high-thread-count patch with a merrowed edge.
- Apply with a 30-second press using a protective pressing cloth.
Once attached, implement basic washing best practices—like washing the garment inside out on cold—to ensure flawless durability without peeling corners. Whether you are upcycling an old tote bag or customizing a classic denim jacket, grab your supplies, apply your first design with confidence, and wear your newly customized creation.
Frequently Asked Questions (FAQ)
1. How can I identify a high-quality cartoon embroidery patch before buying?
Perform a three-point visual inspection:
Gap test – Gently bend the patch. If the underlying fabric shows through the colored threads, the stitch density is too low.
Thread tension – Stitches should lie flat and smooth, not loose or tangled.
Border finish – Look for a merrowed edge (a thick, tightly wrapped thread border) which prevents fraying and locks internal stitches securely.
2. What is the difference between iron-on and sew-on backings for patches?
| Backing Type | Attachment Method | Durability | Best For |
|---|---|---|---|
| Iron-on (heat-seal) | Shiny adhesive film melted with household iron | Moderate – may weaken with hot washing | Light to medium wear (jackets, bags) |
| Sew-on | Stitched through fabric with needle and thread | Permanent – survives heavy use and washing | High-wear items (hoodies, workwear, frequent laundry) |
For modular use (e.g., swapping patches on a backpack), consider hook-and-loop (Velcro) attachment instead.
3. Can I iron a cartoon embroidery patch onto polyester or other delicate fabrics?
Yes, but with strict precautions. Polyester and nylon are heat-sensitive and can melt or scorch. Use a pressing cloth (thin cotton towel or pillowcase) between the iron and the patch. Set the iron to low-to-medium heat (synthetic setting), press firmly for 10–15 seconds, and avoid steam. For extremely delicate fabrics (e.g., silk, thin nylon), sew the patch instead of ironing.
4. How do I prevent puckering (fabric rippling) when attaching a patch to a thin T-shirt?
Thin fabrics lack the structural strength to support dense embroidery. Use a stabilizer or iron-on interfacing behind the fabric before applying the patch. This stiffens the area, prevents distortion, and ensures the patch lies flat. For best results, place the stabilizer on the inside of the garment, then iron the patch over the outer fabric.
5. How can I repair a peeling cartoon patch or remove leftover adhesive residue?
For peeling edges – Place a pressing cloth over the lifted corner and press with a hot iron for 10 seconds. The thermoplastic adhesive will re-melt and bond again.
For leftover residue (sticky footprint) – Apply rubbing alcohol or a commercial fabric solvent with a cotton swab. Let it sit for one minute to break down the glue, then gently scrape with a credit card. Avoid pulling or scrubbing, which can damage fibers.
6. What are the best placement strategies for patches on a denim jacket?
Use the rule of thirds and visual weight concepts:
Over-the-heart (chest) – Ideal for a single medium-sized focal patch.
Sleeve cluster – Group smaller motifs on the upper arm, following the rule of thirds to maintain balance.
Center back – Reserve this prime area for large, statement-making designs.
For backpacks, place designs on front pockets or upper panels rather than bottom seams to ensure visibility and longevity. Always test layout with pins or tape before ironing.
