


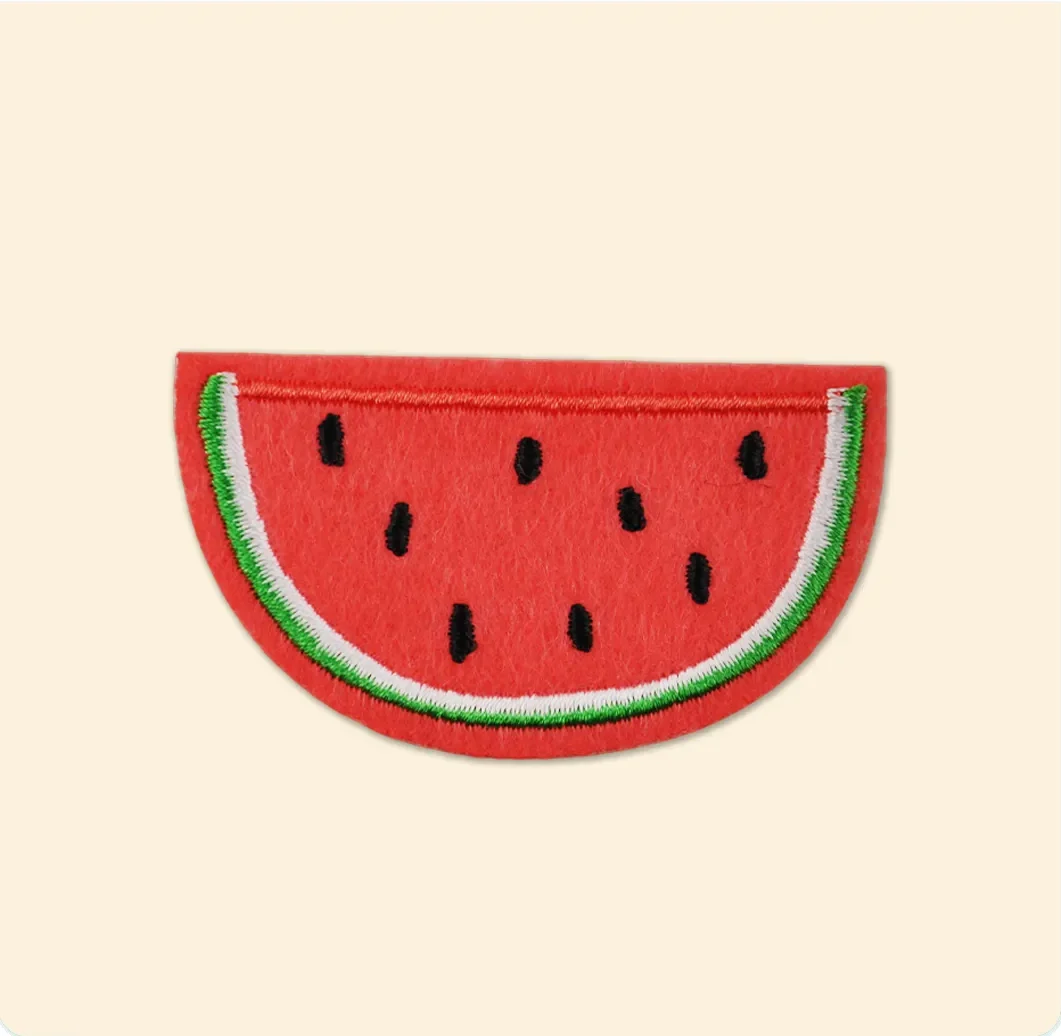
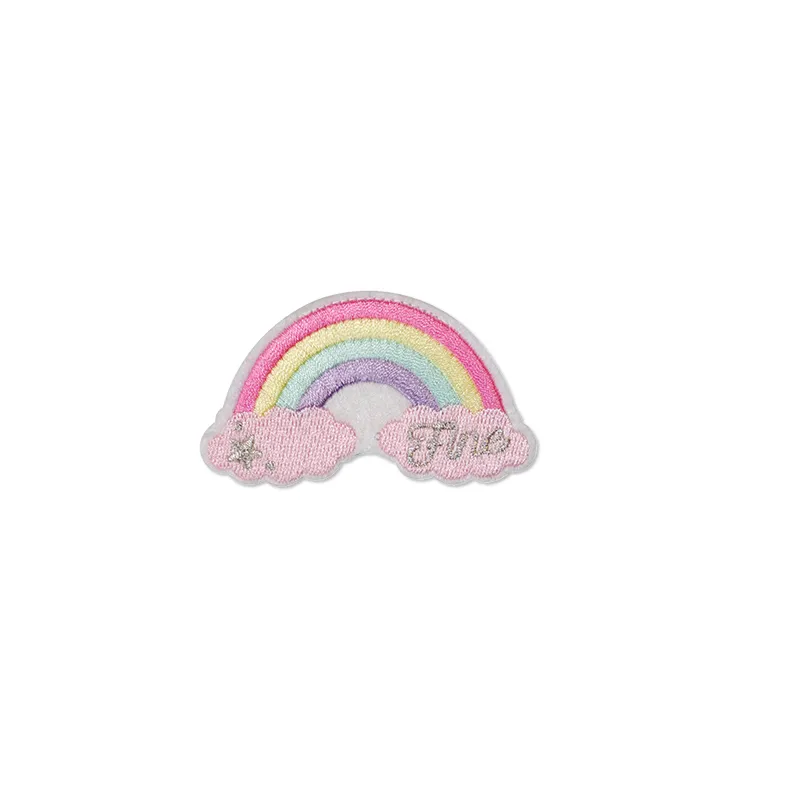
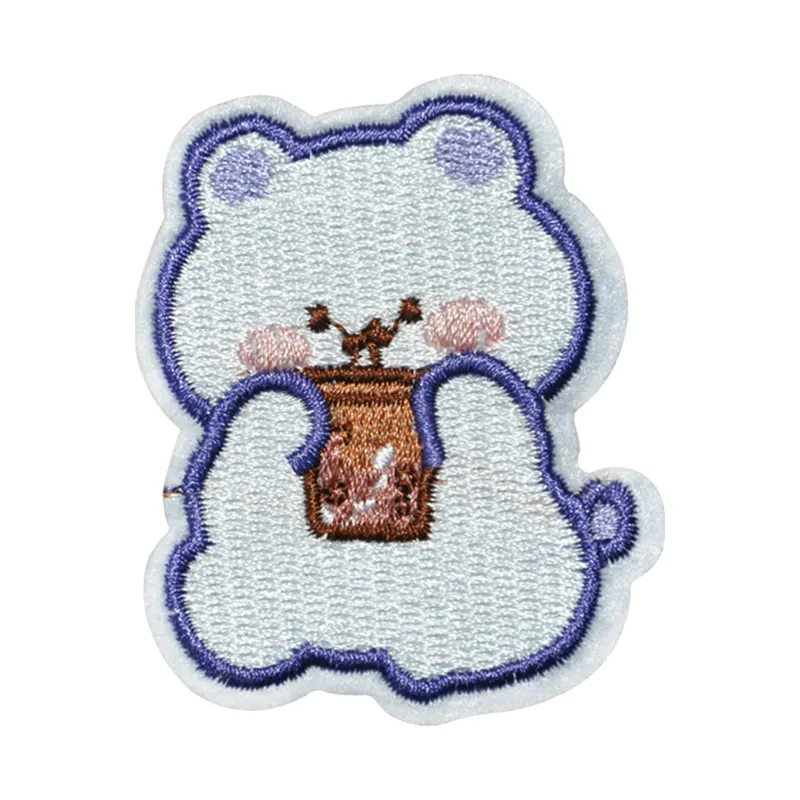
Craft Your Style: How to Make an Iron On Embroidery Patch
Imagine having the power to transform a simple piece of fabric into a vibrant work of art, an extension of your personal style, or a unique gift for a loved one. The secret lies in mastering a craft that’s both creative and practical: learning how to make an iron on embroidery patch. Whether you’re embellishing a denim jacket with intricate designs or adding a dash of whimsy to a plain tote bag, the ability to create custom patches opens up a world of endless possibilities. This skill is not just about sewing; it’s about expressing individuality and flair.
The beauty of crafting your own patches lies in the blend of old-fashioned embroidery techniques with modern convenience. Gone are the days when intricate stitching was reserved for the most patient hands. Today, with just a bit of creativity and basic materials, anyone can dive into this rewarding hobby. Have you ever glanced at a store-bought patch and thought, “I wish it had more personality”? Now, you don’t have to settle. Stay with us as we unravel this accessible craft and guide you step-by-step through the creation process, from selecting the perfect design to securely adhering your finished masterpiece onto your chosen fabric.
Choosing the Right Design for Your Iron On Embroidery Patch
Picking the perfect design is the first crucial step when exploring how to make an iron on embroidery patch. Your design sets the tone for your project—it can be whimsical, bold, subtle, or intricate. Start by considering the purpose of the patch. Are you creating a logo for a club, a fun motif for personal fashion, or a heartfelt gift for someone special? Sketching or printing out a few concepts can help you visualize how the final patch will look on your chosen substrate.
Next, think about color choices and scale. Smaller patches with densely packed details can quickly become muddled when embroidered, so if you’re new to this craft, opt for larger, simpler shapes and a limited palette of contrasting threads. Conversely, advanced stitchers might enjoy experimenting with gradients and multicolored layers for a more three-dimensional effect. Finally, ensure your design has clear outlines and clean edges. This will make both the tracing process and the final iron-on transfer smoother, reducing the chance of fraying or misalignment when you apply the patch.
Essential Materials and Tools You’ll Need
Before diving into stitches, gather everything you need for a seamless journey in how to make an iron on embroidery patch. First, choose a sturdy base fabric such as cotton or a cotton blend; it should be firm enough to hold your stitches yet flexible enough for ironing later. You’ll also need an embroidery hoop to keep your fabric taut, embroidery needles (sizes 7 to 9 are versatile), and a selection of embroidery threads—typically cotton floss in six-strand skeins.
In addition to the basic sewing kit, secure a piece of lightweight iron-on adhesive backing. This adhesive, often sold as “heat-n-bond” or “fusible web,” allows you to attach your finished patch without additional sewing. Other helpful tools include fabric scissors for trimming, a water-soluble pen or transfer pencil for tracing your design, and a craft mat or pressing cloth to protect your work surface. Finally, have your household iron or a heat press set to the appropriate temperature for your fabric and adhesive. A small iron press pillow can also help ensure even pressure when bonding the patch.
Mastering Basic Embroidery Stitches for Your Patch
Embroidery stitches are the building blocks of any iron-on patch. Learning a handful of versatile stitches will unlock endless creative possibilities. Start with the running stitch—a simple up-and-down method ideal for outlines and fine details. Then move on to the backstitch, which offers more solidity and definition for borders and lettering. Finally, practice the satin stitch, where you fill shapes with parallel stitches to create smooth, silky surfaces.
Once comfortable with these basics, experiment with the split stitch for a textured line, the French knot for tiny raised dots, and the chain stitch for decorative curves. Consistency is key: keep your stitch lengths uniform and maintain steady tension on your thread. As you stitch, reposition your hoop to keep the fabric taut without overstretching. Practice each stitch on scrap fabric first, paying attention to how thread thickness and color combinations affect your design. The more you practice these foundational methods, the more confident you’ll feel when tackling larger, more intricate patches.
Adding Personalized Touches to Your Design
Personalization is where your patch truly comes to life. Once you’ve mastered the basic stitches, consider incorporating unique embellishments that reflect your style or the recipient’s interests. Metallic threads, variegated floss, and even glow-in-the-dark options can add a special flair. You can also sew on small beads, sequins, or charms to introduce texture and sparkle.
Another creative approach is layering fabrics. Cut a contrasting shape from felt or another lightweight material and stitch your primary design on top. This creates depth and color contrast that catches the eye. For a hand-drawn look, use a fabric pen to add doodles or lettering before stitching. If you’re making patches for a themed collection—such as travel destinations or botanical illustrations—experiment with different border shapes (circles, shields, banners) to tie the series together. All these techniques make your patch uniquely yours and turn a simple motif into a wearable art piece.
Ironing On Your Embroidery Patch
Now comes the moment you’ve been waiting for: adhering your patch to its final resting place. Position the iron-on adhesive backing behind the patch, making sure it is centered and free of wrinkles. Secure the patch temporarily with pins or heat-resistant tape to prevent shifting. Preheat your iron to the temperature specified on your adhesive’s packaging—typically a medium to high cotton setting without steam.
Place a thin pressing cloth or a scrap piece of cotton fabric over the patch to protect both the embroidery and the iron’s soleplate. Press down firmly for 10–15 seconds, applying even pressure across the entire patch. Lift the iron and move on to the next section, overlapping slightly until the whole patch has been heated. Allow the patch to cool for a few minutes, then gently peel back the cloth to check adhesion. If any edges lift, cover and press again until fully bonded. This method ensures a strong, long-lasting bond between your patch and the garment or accessory.
Finishing Touches: Securing and Enhancing Your Patch
Even with a solid iron-on bond, it’s wise to reinforce the patch with a quick edge stitch. Using a matching or complementary thread, work a simple whipstitch or blanket stitch around the perimeter. This not only secures the edges but also adds a polished, professional look. Trim any stray threads and neaten the backing fabric to remove bulk and prevent peeling over time.
For extra durability—especially on items frequently washed or exposed to wear—consider applying a thin line of clear fabric glue along the patch’s underside before ironing. This provides an additional layer of adhesion without affecting the design. Finally, give your project a gentle press from the inside of the garment to flatten seams and smooth any puckering. Your custom iron-on embroidery patch is now ready to shine, showcasing both your creative flair and newfound mastery of this rewarding craft!
