
Choosing the Perfect Blank Patch for Embroidery
Ever tried to add a logo to a bulky coat or a mesh cap, only to realize your embroidery hoop won’t fit? That is where a blank patch for embroidery becomes essential. Think of it as a portable canvas that lets you stitch flat and apply later. In practice, these pre-made shapes act like heavy-duty fabric stickers, removing the headache of forcing awkward, un-hoppable items under your needle.
Ruining a $50 jacket with a puckered design stops many crafters in their tracks. Direct stitching often causes delicate garments to bunch up and distort around your thread. Fortunately, using patch blanks for embroidery provides a brilliant safety net. You can practice your design on a $1 blank without ever risking expensive clothing, guaranteeing a crisp, professional result instead of a wrinkled mess.
Crafting DIY custom embroidered appliques is an incredibly forgiving way to personalize your favorite gear. Whether you are patching over a hole or adding a name to a school backpack, choosing the correct base material ensures your hard work survives the wash and looks fantastic.
The Twill Advantage: Why 90% of Professional Badges Use This Specific Fabric
Patches on professional uniforms share a remarkably sturdy feel. That structure comes from high fabric density—meaning the threads are packed tightly together so the patch doesn’t flop around in your hands. When choosing the best material for homemade patches, most professional badges rely on a specific base called polyester twill.
Looking closely at a patch twill for embroidery, you can easily spot its signature pattern: tiny diagonal lines woven across the surface. This tight weave creates a smooth, durable canvas that holds heavy stitching beautifully without puckering, making it the gold standard for crisp, long-lasting logos.
Sometimes your project demands a different aesthetic or technique, which is why blanks come in three main varieties:
- Polyester Twill: The rugged, everyday choice for clean corporate logos and durable uniform badges.
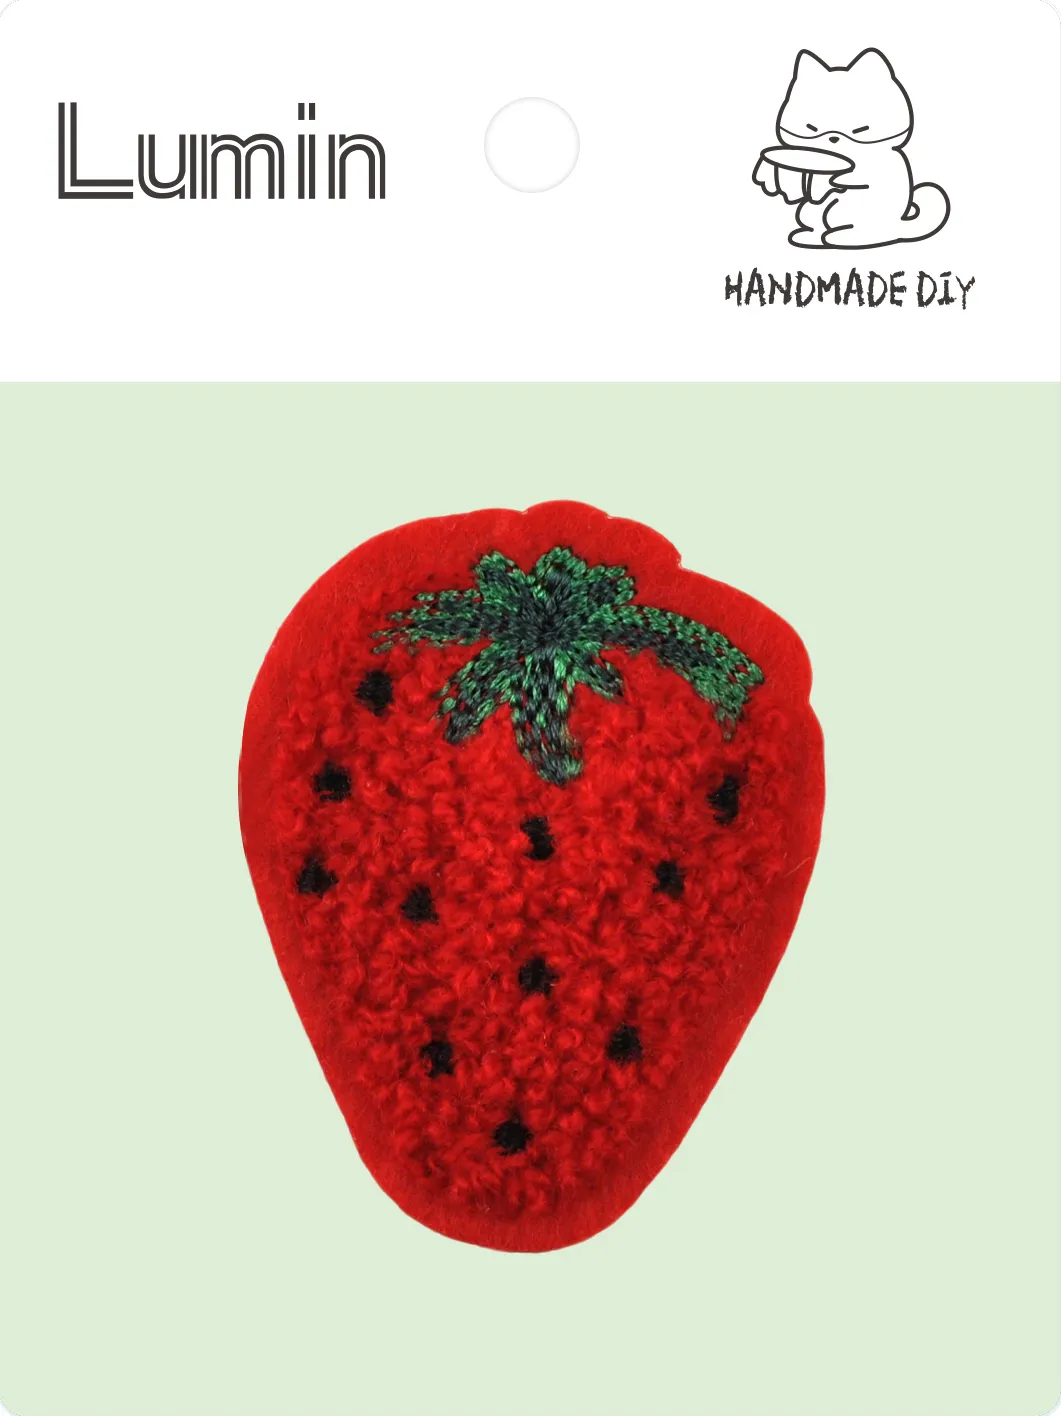
- Felt: A softer, fuzzy material perfect for achieving a nostalgic, vintage varsity jacket look.
- Sublimation Fabric: A smooth, specialized canvas that absorbs heated ink, acting as a brilliant shortcut when you want photo-realistic, multi-color designs without sewing thousands of tiny stitches.
Whether you want a classic textured background or prefer using smooth sublimation fabric blanks for hats, your base material sets the foundation.

Merrowed vs. Laser-Cut: Which Border Gives Your Patch a Retail-Ready Finish?
Think of your patch’s border as the picture frame for your hard work—it stops fraying while defining the entire vibe of the piece. When comparing a merrowed edge vs laser cut borders, the classic choice is merrowed. This is that thick, rounded border you instantly recognize on traditional scout or military badges. Created using a heavy-duty overlock stitching technique, the thread wraps completely around the fabric’s edge, creating a raised, three-dimensional bumper that screams durability.
Modern designs often demand silhouettes too complicated for a thick, wrapped border to navigate smoothly. If you are creating a custom star shape or an intricate shield featuring sharp embroidery patch stripes, a laser-cut border is your best bet. Instead of wrapping thread over the edge, a high-heat laser slices the fabric perfectly flush with the exterior stitching, leaving a sleek, flat finish that easily handles complex custom shapes.
Choosing between these styles comes down to whether you want a nostalgic, heavy-duty look for professional uniform branding solutions or a precise edge for contemporary streetwear.

Stick, Stitch, or Swap? Matching Your Backing to Your Lifestyle Needs
After spending time selecting the perfect border and crafting a beautiful design, figuring out how to attach your patch is the final step. The backing you choose transforms a simple piece of fabric into a versatile branding tool or a quick craft fix, depending entirely on how you plan to use the item.
To match your project to the right method, consider these three main attachment styles:
- Iron-on (Fastest): Uses a heat-activated adhesive film. Perfect for promotional giveaways and light-use crafts.
- Sew-on (Strongest): Features a plain, glue-free back. This remains the only truly permanent solution for high-wash industrial workwear.
- Hook-and-Loop (Swappable): Commonly known as Velcro, these hook and loop fastener options are ideal for tactical gear or swapping logos on hats.
When weighing the durability of sew-on vs iron-on patches, remember that heat-activated glue is incredibly convenient but rarely permanent. Frequent runs through a hot washer and dryer will eventually break down the temporary adhesive film, making traditional stitching necessary for heavy-duty garments.
Choosing the correct foundation ensures your artwork survives its intended environment, whether stitched down forever or swapped out daily.
Mastering the Heat Press: How to Apply Iron-On Backings That Actually Stay Put
Getting temporary adhesive to grip like permanent glue requires mastering temperature and dwell time. When figuring out how to attach iron-on backings, the golden rule is a firm press at 320°F for exactly 15 seconds. This “dwell time”—how long the heat actually makes contact—allows the glue to melt perfectly into the fabric fibers.
No one wants to ruin their jacket, making scorching prevention crucial when repairing clothing with fabric patches on delicate items like nylon. Always place a protective barrier, like a pressing cloth or parchment paper, over your artwork. This simple shield distributes temperatures evenly and prevents ugly, shiny burn marks on your garments.
Once the front is tacked down, the secret to a wash-proof bond is a technique called reverse pressing. Simply flip your garment inside out and heat the fabric directly behind the patch for another 15 seconds. Using these dual-sided heat press settings for patch application drives the adhesive deeply into the material, creating a firm anchor.

From Hats to Hoodies: Sizing Your Patches for Maximum Visual Impact
Nailing your heat press technique won’t matter if your design looks awkwardly sized on the garment. Achieving the right “visual weight”—how naturally a piece balances against its surrounding fabric—starts with picking correct dimensions. When buying bulk twill blanks for crafting, sticking to standard shapes like circles, squares, or shields saves serious money compared to ordering custom silhouettes.
Purchasing these traditional shapes also makes application foolproof when you follow standard industry measurements. Keep this quick sizing cheat sheet handy:
- Hats: Stay under 2.5 inches tall. Anything larger bends against the curved crown, causing “structural peeling” where the stiff edges eventually pop up.
- Chest Logos: Aim for 3.5 inches to provide clean, proportionate branding.
- Jacket Backs: Go big with 10 or more inches for maximum visual impact.
With your perfectly sized canvas ready, the material must remain totally flat to avoid puckering. Keeping that foundation perfectly rigid requires the proper base support.
The Secret to No-Slip Embroidery: Choosing the Right Stabilizer for Patch Blanks
Keeping designs from bunching up requires a stiff foundation called a stabilizer. When choosing the right embroidery stabilizer, tear-away is your best friend for patches. Unlike cut-away backing that leaves messy borders behind, tear-away pulls apart cleanly when you finish your project. Whether using a modern automated machine or creating patches with a zig-zag stitch by hand, this paper-like layer ensures crisp, professional edges.
To secure these small blanks, crafters rely on a clever trick called the “Window Method.” Instead of forcing a tiny patch into a large plastic hoop, you simply hoop a solid sheet of stabilizer and cut a small opening into it. Lay your patch directly over this hole and add temporary spray adhesive to prevent shifting during high-speed stitching, guaranteeing your logo stays perfectly centered.
Once your finished design pulls cleanly free, the final step is sealing the back. Applying a permanent adhesive film for embroidery protects delicate thread knots from unraveling and creates a sturdy iron-on backing.
Your Roadmap to Success: A Final Checklist for Your First Custom Patch Project
You no longer have to struggle stitching directly onto bulky gear. Evaluate your project’s durability and style needs before starting. Simply choose your material, select a border, and pick the right backing. Once you stitch your design onto a blank patch for embroidery, execute a quick test-press to dial in your heat settings.
Think of these blanks as heavy-duty fabric stickers. This clever approach lets you easily transform basic jackets and bags into custom merchandise, achieving a professional-looking finish that lasts through the wash.
Frequently Asked Questions (FAQ)
1. What is a blank patch for embroidery and why should I use one?
A blank patch for embroidery is a pre-cut, ready-to-stitch fabric shape that serves as a portable canvas. Instead of stitching directly onto bulky or delicate garments (jackets, caps, or mesh), you embroider the flat patch first, then attach it later. This prevents fabric distortion, protects expensive clothing from needle damage, and allows you to practice designs without risk.
2. What is the best material for homemade patches?
| Material | Best For | Characteristics |
|---|---|---|
| Polyester twill | Professional logos, uniform badges | Tight diagonal weave, smooth durable canvas, resists puckering |
| Felt | Vintage varsity jackets, nostalgic designs | Soft, fuzzy texture, ideal for a retro aesthetic |
| Sublimation fabric | Photo-realistic, multi-color designs | Smooth surface absorbs heated ink; great for hats and complex artwork |
Polyester twill is the gold standard used in 90% of professional badges due to its high density and durability.
3. What is the difference between merrowed edge and laser-cut borders?
| Border Type | Appearance | Best For |
|---|---|---|
| Merrowed edge | Thick, rounded, wrapped thread border | Traditional scout/military badges, heavy-duty durability, nostalgic look |
| Laser-cut edge | Sleek, flat, precision-cut finish | Intricate custom shapes (stars, shields), modern streetwear, complex silhouettes |
Merrowed edges use overlock stitching to create a raised bumper. Laser-cut edges use high heat to slice fabric flush with the exterior stitching.
4. How do I choose between iron-on, sew-on, and hook-and-loop backings?
| Backing Type | Attachment Method | Durability | Best For |
|---|---|---|---|
| Iron-on | Heat-activated adhesive (320°F for 15 seconds) | Temporary; may loosen after repeated washes | Promotional giveaways, light-use crafts |
| Sew-on | Stitching around the edge | Permanent; strongest hold | Industrial workwear, high-wash garments |
| Hook-and-loop (Velcro) | Adhesive or sewn fastener strips | Removable and reusable | Tactical gear, swappable logos on hats |
For heavy-duty applications, sew-on is the only truly permanent solution. Iron-on is convenient but less durable over time.
5. How do I properly apply an iron-on patch backing?
Follow these steps for a secure bond:
Preheat – Set heat press or iron to 320°F (no steam)
Position – Place patch adhesive-side down on garment
Protect – Cover with pressing cloth or parchment paper (prevents scorching)
Press – Apply firm pressure for 15 seconds
Reverse press – Flip garment inside out and press the back for another 15 seconds (drives adhesive deep into fabric)
Cool – Allow to cool completely before wearing or washing
This dual-sided technique creates a wash-proof bond.
6. What sizes work best for different garment placements?
| Placement | Recommended Size | Why |
|---|---|---|
| Hats | Under 2.5 inches tall | Larger sizes bend against curved crown, causing edges to peel |
| Chest logos | 3.5 inches | Provides clean, proportionate branding |
| Jacket backs | 10 inches or larger | Maximum visual impact |
